
Lip Liner Tutorial for Small Lips: Fuller Looks in 5 Steps
In 2024, 55% of U.S. beauty shoppers said they contour their lips, typically with a lip pencil or liner, according to L'Oréal Paris USA's summary of a consumer survey. For smaller-looking lips, the useful shift is to think about where you add definition, not how far you draw a bigger outline.
A good lip liner tutorial for small lips starts with your natural shape. You'll choose a shade and formula, check how your lips tolerate it, then build a little extra height at the center while keeping the corners believable.
This post may contain affiliate links, which means I may receive a commission if you purchase through my links, at no extra cost to you. Please read the disclosure policy for more information.
Where to Place Liner on Small Lips
Start by naming the concern you want to address. A lip that looks short or flat needs a little extra height at the center; a narrow-looking mouth doesn't benefit from extending the corners. Use the table as a map, not a demand to alter every part of your lip.
| Lip concern | Where to overline | How far past the border |
|---|---|---|
| Short or flat lips | Center of Cupid's bow and lower-lip midpoint | 1–2 mm |
| Narrow lips | Don't extend corners; shade just inside them | 0 mm at corners |
| Thin upper lip | Center of upper lip only, blended inward | 1 mm |
| Thin lower lip | Lower-lip midpoint only, corners on natural line | 1–2 mm |
| Uneven Cupid's bow | Lower peak only if needed; keep higher peak on natural line | Under 1 mm on the higher side |
The reason for this selective approach is facial proportion. A 2024 study of 400 professional female photographic models aged 18–39 reported an average lip width of 48.06 ± 3.34 mm and found that the lower third of the face represented 0.32 ± 0.02 of total facial height, according to a study published in PMC. Those measurements describe the models studied, not a universal template. They illustrate why one fixed overlining distance won't suit every face.
Use the vermilion border, where the colored lip tissue meets the surrounding skin, as your guide. Follow it closely, then make small adjustments at the center of the Cupid's bow and lower lip. Return to your natural border before the corners, where a mismatch between pencil and skin is easiest to spot.
Preference doesn't point to one required upper-to-lower lip ratio, either. In the same study, 43.1% of respondents chose a 1:1 ratio for one model, and 45.9% chose the same ratio for another. A fuller lower lip isn't automatically the goal. If you're weighing makeup against other approaches, non-surgical lip enhancement options offer a separate overview to help you understand the difference between a temporary makeup effect and cosmetic procedures.
Before picking up your pencil, identify your dominant concern: height, width, upper-to-lower balance, or asymmetry.
Choose Shade, Formula and Patch-Test First
Start with a shade that supports the lip shape you want to define. Choose a liner one to two shades deeper than your natural lip color, rather than the darkest pencil on the shelf. A very dark outline can make the center appear smaller by contrast. A close, softly blended shade adds definition without making the edge the main feature.
For a budget option, the NYX Slim Lip Pencil can provide a defined edge. Choose one neutral shade that works with your natural lip tone and another close to a lipstick you wear often. Test each pencil on the back of your hand, then compare the stroke with your natural lip shade. After smudging, a useful match leaves a soft, even edge rather than a stark stripe. Check both undertones: avoid cool taupe if your lips read warm, and make sure the liner sits comfortably beside your natural lip color, not only your lipstick. For more options to compare, browse Finding Favourites' lip liner guide.
Compare the formulas
| Formula type | Best use on small lips | Blendability | Migration risk |
|---|---|---|---|
| Sharp matte pencil | Defining the center overline with a crisp edge | Low to medium; soften with a brush | Low when blotted and set |
| Creamy long-wear pencil | Filling inward and blending the inner edge | High | Medium; can travel into lines |
| Hydrating or balm-style liner | Soft, natural overline on dry or sensitive lips | High | Higher under gloss or after eating |
| Gel or retractable liner | Quick touch-ups and precise center work | Medium | Low once dry, but can feel heavy |
Choose the texture based on how you plan to use it. A sharp matte pencil gives you more control at the center, while a creamy formula is easier to blend inward. Hydrating textures may feel comfortable on dry lips, but can shift more easily under gloss. A more slippery formula may need less product and a light blot to keep the edge from moving.
Test the routine, not a pile of products
Keep your first wear simple: start with clean lips, apply one pencil formula, and wait several minutes for it to set. Add one lipstick layer, then blot once before using gloss. Leave fragranced, flavored, glossy, and plumping products out of the test so you can tell which product might be causing a reaction. More liquid and glossy products can be more irritating, while waxier formulas may be better tolerated.
The DermNet guidance on contact reactions to lip-care products covers reactions linked to liner, lipstick, balm, gloss, and plumper products. A systematic review cited there identified 58 individuals across 47 reports of allergic reactions to lip-care products, including lip liner. These reports describe reactions that were published, not the likelihood that a typical person will react.
If you are trying to identify a trigger, reintroduce lip products one at a time, giving each one several days of wear before adding the next. Stop using lip products if you develop burning, itching, swelling, cracking, or scaling. Covering irritated skin with more makeup can make it harder to notice whether the reaction is settling. Short, light strokes and periodic symmetry checks help limit how much product you apply; see Buxom's professional lip-liner technique.
How to Overline Small Lips Step by Step
Prep determines whether the pencil draws smoothly. On dry, flaky lips, it can skip and tug, leaving a ragged outline; start only when the surface is comfortable and even. Follow the natural border as your map, and keep any adjustment focused on the center.
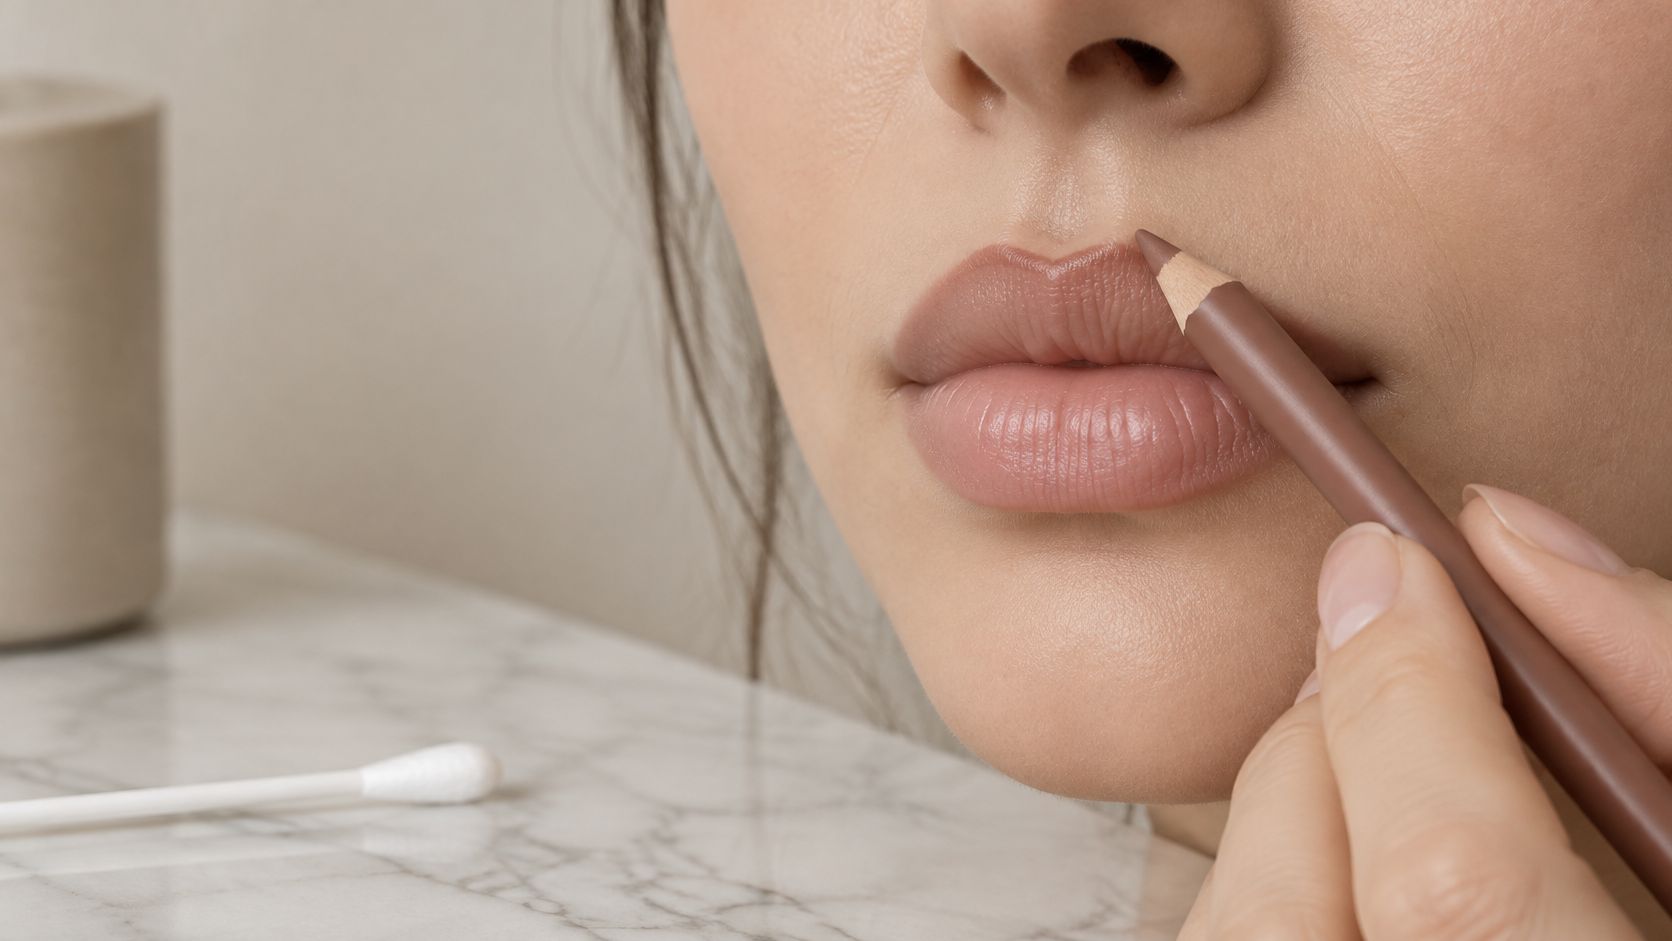
Prep gently. Exfoliate only if your lips are intact, then apply a thin layer of non-greasy balm. Blot off the excess so the pencil grips; pressing hard to compensate for slippery or flaky lips can make it drag.
Mark your landmarks. Make small dots at the two Cupid's-bow peaks and at the center of your lower lip. These points give you a shape to connect without guessing where the middle is.
Connect in short strokes. Use light, small strokes and check each side in a mirror as you go. One long, continuous line is harder to adjust and can make small differences in symmetry more obvious.
Add height at the center. Overline the central Cupid's-bow area and lower-lip midpoint by about 1–2 mm, then return to the natural vermilion border before the corners. Carrying the line around the corners is the slip that most often creates a disconnected, sticker-like edge.
Fill inward. Shade 2–4 mm toward the center of the lips with the same pencil. This creates a smooth base for lipstick; don't extend that fill beyond your natural corners just to make the outline look more complete.
Soften the inner edge. Blend a matching lipstick inward with a small brush or fingertip. A hard line between the liner and lipstick can look drawn on, so blur the transition without wiping away the center shape.
Finish with restraint. Wait a few minutes, blot once, and place gloss only at the center. Coating the whole lip can make the edge shift more easily and put shine where it highlights texture rather than adding a controlled focal point.
These placements follow the vermilion border rather than creating a uniformly larger shape. A clinical review in PMC describes this boundary as the demarcation between colored lip tissue and surrounding skin, and outlines a center-focused approach with inward blending. It also notes that claims of a universal percentage increase in apparent lip volume from makeup overlining aren't supported by a reliable peer-reviewed success-rate benchmark.
For a short, flat lip, try a neutral rose-brown pencil just beyond the center of the upper and lower lip, paired with a matching rose lipstick. For a thin lower lip, use a soft nude pencil at the lower midpoint and pair it with a nude lipstick, keeping the corners on their natural line. If you're curious about longer-lasting options beyond makeup, this overview of lip fillers at Medical Aesthetics And Lasers provides context on a different approach to lip enhancement.
A professional application demonstration can help you see the hand movement. Watch the video below after you've read the steps, and compare how the pencil returns to the natural line near the corners.
A good result should look fuller at the center from across the room, while the corners still look like your own. Check it in daylight by stepping back from the mirror, comparing both sides, and making a feathered adjustment on one side only if needed. Don't redraw the whole lip to fix a small difference.
Fixing Sticker Edges, Feathering and Uneven Lips
The most common complaint is an outline that looks like a sticker. That usually happens when liner continues around the corners, exposing the difference between pencil and skin and making the mouth look wider instead of fuller.
| Problem | Likely cause | Fix |
|---|---|---|
| Sticker-like outline | Liner carried around the corners | Wipe corners with a concealer-dipped swab and soften with a fingertip |
| Mouth looks wider | Corner overlining | Shade just inside the corners and keep the liner on the natural line |
| Edge feathers after eating | Oily or unset formula | Blot, set with translucent powder, then apply lipstick |
| Uneven sides | Asymmetric mapping | Make a feathered micro-adjustment on the higher side only |
| Overinflated, swollen look | Overline above 2 mm or too much gloss | Reduce overline to about 1 mm and skip extra gloss |
If the corners look too extended, dip a cotton swab in concealer or matching lipstick and wipe away just the excess. Soften the corrected edge with a fingertip rather than adding more liner over it. For feathering, blot first, apply a light dusting of translucent powder, then add lipstick.
For asymmetry, adjust the side that needs more balance with a few feathered strokes. Don't redraw both sides in an attempt to make them perfectly identical; small differences in lip shape are natural, and a full redraw can make the outline more visible. If lipstick itself needs tidying, this guide to applying lipstick neatly can help with the finishing step.
An overinflated look is a sign to reduce the shape, not intensify it. In a 2024 perceptual study of digitally modified lip images, upper-lip height greater than 30% of hemi-lip width was generally judged unattractive, and only 12% of participants rated that degree of inflation as the most aesthetic, according to the study published in PMC. That finding concerns perceptions of modified images, not a makeup limit that applies to every face. For your liner, use it as a reason to pull back: try about 1 mm of overline and skip extra gloss if the upper lip looks swollen.
Fix the problem once, then stop. Extra layers cake the product and make every edge harder to soften.
Try the Look This Week
Use a short practice plan to find out whether your liner looks natural beyond the bathroom mirror.
- Day one: Pick a neutral liner one to two shades deeper than your natural lip color, using the formula comparison to choose the texture.
- Day two: Practice the center-only shape in daylight. Check that the corners stay on the natural line.
- Day three: Wear it on an ordinary errand, eat something, then check the edges in a bathroom mirror.
- Day four: Add a lipstick you already own, blot once, and compare the look with and without gloss.
- Day five onward: If you're adding a new product, change one thing at a time and give each new product its own wear test.
Keep the liner if the edge stays soft after a meal and the center reads fuller from across the room. If it migrates or looks drawn on, change the formula before layering on more product. A sharp drugstore pencil paired with lipstick you already own is a sensible place to start; Finding Favourites' lip-gloss guide can help you compare affordable gloss options if you decide to add shine.
Small lips don't need a bigger outline. They need a careful center, soft blending, and corners that still look like yours.
Finding Favourites shares affordable beauty alternatives and practical guides that help you compare makeup by shade, texture, finish, and wear. Visit Finding Favourites to explore budget-conscious beauty ideas and find options that suit your routine.