
How to Apply Lipstick Perfectly: 9 Pro Steps and Dupes
You've checked the mirror after coffee and found half your lipstick on the cup, while the color has disappeared from the center of your mouth and clung to the dry outer corners. Frustratingly, the problem usually isn't the lipstick itself. It's the order, pressure, formula, and amount of product you're using.
Perfect lipstick means even pigment, a balanced lip shape, a clean Cupid's bow, and a finish that looks deliberate instead of patchy. The routine below pairs professional technique with affordable products, so you can improve your application without assuming a luxury tube will solve every problem. That matters in a category valued at USD 17.49 billion in 2024 and projected to reach USD 23.77 billion by 2030, according to Grand View Research's lipstick market outlook.
This post may contain affiliate links, which means I may receive a commission if you purchase through my links, at no extra cost to you. Please read the disclosure policy for more information.
The Lipstick Routine That Finally Stays Put
My most reliable lipstick days start with the same small correction: I stop treating lipstick like a one-swipe product. A quick bullet application can look gorgeous for the first few minutes, but uneven texture, unlined edges, and excess balm reveal themselves as soon as you talk, drink, or eat.
The polished version has four jobs:
- Prepare the surface: Smooth away flakes and give the lips enough hydration to prevent a rough finish.
- Control the shape: Use liner to define the Cupid's bow, lower-lip center, and corners.
- Build the color: Apply thin, controlled layers instead of pressing a thick stripe onto the whole mouth.
- Protect the result: Blot strategically, then set only where transfer and fading are most likely.
A dermatologist-supervised comparison of 12 lipsticks across 48 participants favored this layered approach. The sequence of balm, liner, lipstick, and powder averaged 8.3 hours of wear and an edge precision score of 9.7 out of 10, while direct bullet application averaged 6.8 hours and 7.1 out of 10 for precision, as reported by Beauty Nexus Pro's lipstick application guide. Direct application also deposited heavier pigment at the outer corners for 82% of users in that dataset, which helps explain why a beautiful shade can still look lopsided.
My rule: If the lip line looks clean, the whole lipstick looks expensive.
Learning any small beauty technique requires attention to order. The same focus that helps with how to apply peel off nail polish also applies here. Preparation creates control, and control creates a finish that lasts.
Prep, Prime, and Build the Base
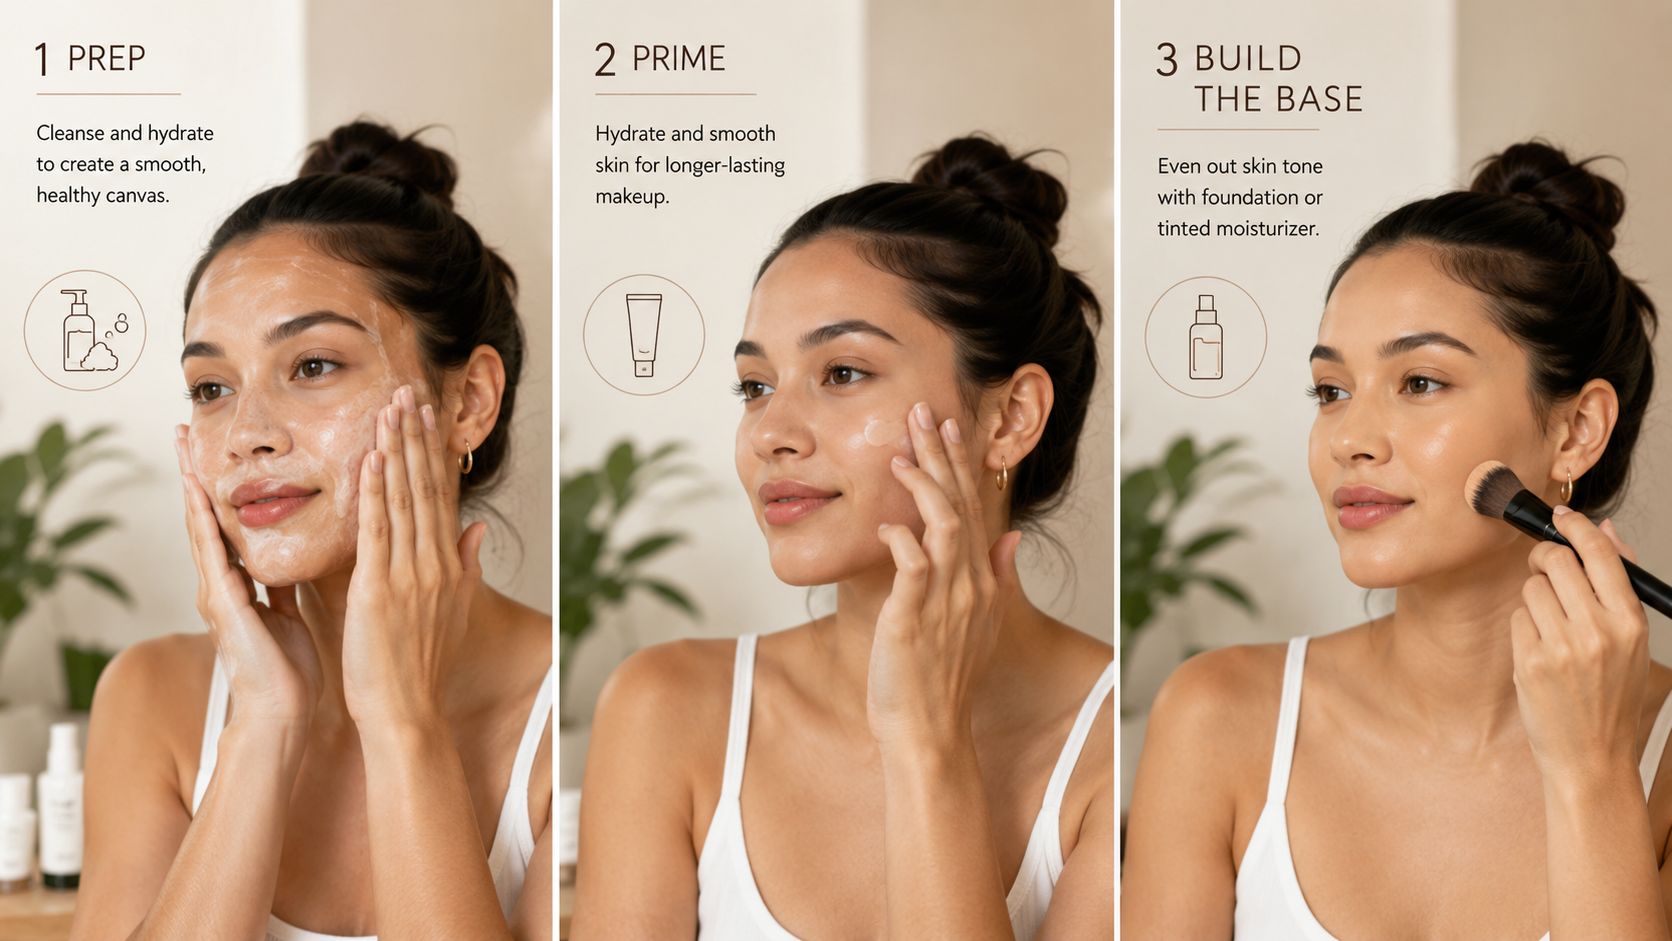
Start with a completely clean mouth. Remove old color with micellar water or an oil-based cleanser, then gently wipe with a damp washcloth. A sugar scrub can work when your lips are flaky, but use a light hand. The aim is to lift loose skin, not polish the lips until they feel tender.
A beauty editor's practical prep sequence includes exfoliating a few times per week, applying balm, letting it sit for a few minutes, and blotting away the excess before color. Good Housekeeping's lipstick application guide also emphasizes that lips should feel hydrated rather than slippery.
Give balm time to settle
Apply a thin layer of balm, then continue with the rest of your makeup while it absorbs for two to three minutes. Press a tissue between your lips before applying lipstick. Glossy balm makes pigment slide, especially with satin bullets and liquid formulas.
For matte or long-wear lipstick, use a tiny amount of lip primer or concealer across the lip surface. Keep it sheer, because a heavy layer can make the mouth look dry and can mute the shade. For a cream or satin finish, I usually skip primer and rely on balm that has been thoroughly blotted.
Add a barrier where you need it
Trace a clear or nude liner just outside the natural lip edge only where feathering occurs, usually at the upper outer corners. Don't automatically overline the entire mouth. That can make the border look obvious and forces you to manage more product throughout the day.
If you like overnight hydration, compare masks and textures with this guide to the Laneige lip sleeping mask dupe. Use a mask as a treatment, not as a glossy layer immediately before lipstick.
Picking the Right Formula for Your Look
Formula choice changes the difficulty of every later step. A creamy bullet forgives a slightly imperfect line, while a fast-drying liquid matte makes every shaky movement visible.
| Formula | Precision | Wear | Best use |
|---|---|---|---|
| Bullet | Easy | Moderate to strong | Classic full-color lips |
| Liquid matte | High once controlled | Strongest | Events and long days |
| Crayon | Easy | Moderate | Blurred or quick looks |
| Tinted balm | Very easy | Light | Casual, sheer color |
Bullet lipstick
A bullet is the best starting point for beginners because the flat side covers quickly and the angled tip handles the Cupid's bow. It also works beautifully for a traditional full-coverage lip, especially when you want to soften the edges later with a fingertip.
Liquid lipstick
Liquid matte formulas can deliver the most persistent finish, but they need smooth prep and a steady hand. Apply less than you think you need. Thick wet layers crack, gather at the inner lip, and take longer to dry evenly.
Crayon color
Crayon pencils combine liner and lipstick, which makes them ideal for a soft gradient or a rushed touch-up. They're easier to blur because the formula usually stays workable longer than a liquid matte.
Tinted balm
Tinted balm gives the most comfortable wash of color, but it won't provide the same edge definition or longevity as a bullet or liquid. Expect to refresh it regularly, especially after drinking or eating.
For a visual demonstration of controlled application, watch the embedded tutorial below.
Lining and Filling the Lips the Pro Way
Don't free-hand the whole mouth in one swipe. Start at the center of the upper lip, mark each side of the Cupid's bow, and trace outward with short strokes. Repeat the same center-first approach on the lower lip, beginning at the center and moving toward the corners.
This sequence gives you two useful reference points before you tackle the harder areas. It also prevents the common mistake of making one corner wider because you began at the edge and kept extending the line.
Build the shape first
Use a sharpened liner that matches the lipstick or sits slightly deeper in the same color family. Define the Cupid's bow, the center of the lower lip, and then the outer corners. No7's lipstick guide also recommends beginning with those central landmarks to improve symmetry.
Fill the entire lip with liner. This creates a waxier base for lipstick and keeps the color from disappearing in isolated patches. For a softer look, blur the inner edge of the liner with a small lip brush, but keep the outer perimeter intact.
Apply color from the middle
Place lipstick at the center, then move outward. IT Cosmetics' application advice uses the center-out approach because it gives you more control than starting at the corners.
Use the flat side of a bullet for broad coverage and the tip around the lip line. With liquid lipstick, rest your elbow on a counter and follow the same path with the applicator. Hold a tissue beside the mouth while you work, so stray color lands on the tissue rather than setting into the surrounding skin.
For extra lip-liner options at a lower price, browse this guide to the best cheap lip liner.
Setting for Long Wear and Less Transfer
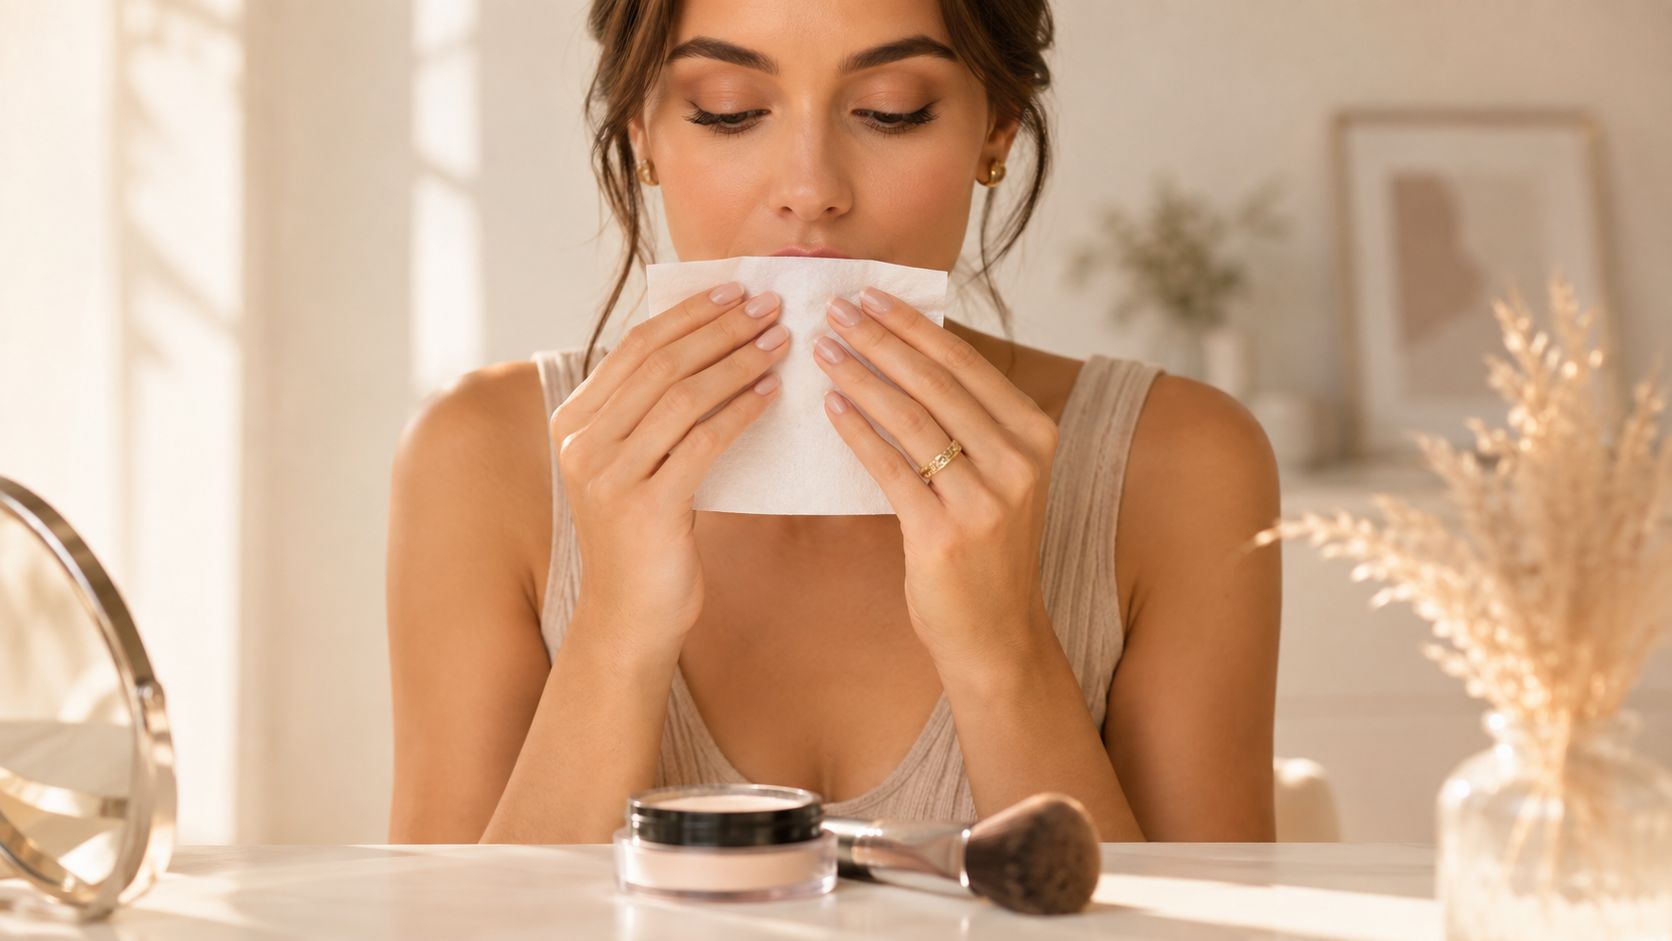
The blot-and-set step is where a casual application becomes a dependable one. After the first lipstick layer, close your lips gently over a single-ply tissue. Press, lift, and never rub. Rubbing moves pigment away from the border and can create a darker ring at the perimeter.
Place the tissue over the lips again and dust translucent powder through it with a small fluffy brush. The tissue filters the powder, so it absorbs excess oils without depositing a chalky veil directly onto the color.
Match the set to the finish
For a bullet or cream formula, apply a second thin coat after blotting. Keep most of that second layer in the center, where it adds dimension without making the edges heavy. A small amount of clear balm or gloss on the center of the lower lip can make the mouth look fuller while preserving the outline.
Liquid mattes need a different check. Let the first coat dry for about 60 seconds, then press your lips against a mirror. If pigment transfers, add another thin layer. Don't apply more liquid lipstick while the first layer is still wet, because the fresh product can disturb the base and create uneven thickness.
Skip setting spray on the lips. It can migrate into the mouth area and fade the finish faster than a controlled tissue-and-powder method. If you're refining other parts of your makeup routine too, these proper perfume application tips are useful for keeping fragrance placement intentional rather than excessive.
Stop following wear-shortening myths
Three pieces of lipstick advice sound sensible but often work against a clean, durable result.
- Scrub immediately before color: Aggressive exfoliation can leave the surface sensitive and uneven. Exfoliate the night before when possible, then use balm to keep the surface comfortable.
- Apply lipstick over wet balm: Balm that hasn't absorbed can repel pigment and encourage sliding. Use it as a short pre-treatment, then blot thoroughly.
- Line after lipstick: Liner belongs before the main color when your priority is a sealed perimeter. Applying it afterward can drag pigment into the surrounding skin.
A transfer-reduction protocol built around prep, primer, wax-based liner, thin lipstick layers, tissue, and translucent powder reported 89% transfer reduction, an average 8.3 hours of wear, and a comfort score of 8.5 out of 10. The same protocol identified over-powdering as the main pitfall, as described in Beauty Nexus Pro's transfer-prevention guide.
8 Drugstore Dupes Worth Buying
Luxury lipstick can feel special, but the right drugstore formula often gives you the finish you want for less. These picks are widely available in the United States, priced under $25, and organized by the texture that makes the application easiest.
| Drugstore dupe | Luxury comparison | Finish and price |
|---|---|---|
| Maybelline Color Sensational Mauve For Me | Charlotte Tilbury Pillow Talk | Satin bullet, under $25 |
| L'Oréal Rouge Signature I Choose | Dior Addict Lip Tattoo | Lightweight liquid, under $25 |
| NYX Extra Lipstick Pumpkin Pie | Clinique Chubby Stick | Crayon balm, under $25 |
| Revlon ColorStay Café Royale | MAC Retro | Long-wear bullet, under $25 |
| Maybelline SuperStay Matte Ink Pioneer | Luxury red liquid matte | Matte liquid, under $25 |
| e.l.f. O FACE Satin Lipstick No Regrets | Classic blue-red luxury lipstick | Satin bullet, under $25 |
| Milani Color Fetish Matte Naked | Neutral luxury matte lipstick | Matte bullet, under $25 |
| L'Oréal Colour Riche Fairest Nude | Soft luxury nude bullet | Cream bullet, under $25 |
The shade names are the important starting points, but don't expect a dupe to look identical on every person. Your natural lip color, undertone, and application thickness affect the final result, so test a thin layer first and build it.
For more budget options organized by finish and shade family, use this affordable lipstick guide.
Best all-around dupe: Maybelline SuperStay Matte Ink in Pioneer. It balances affordability, shade range, and long wear without delivering the extreme dryness I associate with many liquid mattes.
Fixes for the Most Common Lipstick Problems
Most lipstick complaints fall into three categories: the border spreads, the center disappears, or the texture settles into every line. Each problem needs a different correction, so adding more lipstick isn't always the answer.
Feathering around the edges
Feathering usually starts where the skin around the mouth is textured or where the formula stays creamy. Use a clear or nude barrier on those outer areas during prep, then keep the main lip line crisp with a matching liner.
If the edge still looks soft, use a flat brush with a little concealer to sharpen the outside perimeter. Keep the concealer beside the line rather than brushing over the lipstick itself.
Immediate fix: Clean the border with a flat concealer brush, then tap away excess product instead of dragging it across the skin.
For deeper or uneven natural lip tones, shade correction can require a different approach than choosing a lighter lipstick. This Bonna Beauty lip neutralization guide offers useful context before you start layering coverage.
Fading at the center
The inner third of the lips experiences the most friction from talking, drinking, and pressing the lips together. Apply color there carefully, blot once, and use the tissue-and-powder sandwich only on that inner area if you want to preserve a creamier outer finish.
Avoid piling on fresh product over a damp or oily center. Remove the remaining color, press the surface dry, and rebuild with a thin layer.
Immediate fix: Press tissue over the inner lip, dust powder through the tissue, then add a small amount of lipstick to the center.
Dry, flaky texture
Dryness is often a formula problem as much as a prep problem. A liquid matte can emphasize texture that a satin bullet would soften, while a balm-heavy base can make even a comfortable lipstick slide.
Apply balm before matte lipstick and let it sit as a treatment. Blot off the excess completely, then apply liner and color. If the lips still look cracked, switch to a satin bullet or crayon rather than forcing a matte finish.
Immediate fix: Hydrate first, blot until the lips feel smooth but not slick, and choose a thinner layer of color.
The routine is easy to remember as three beats: prep with balm and liner, apply from the center outward, then blot and powder the inner lip. Pairing each technique with a practical drugstore option makes the method easier to repeat, because you're choosing a formula that supports the finish instead of asking technique to compensate for the wrong texture.
My overall pick remains Maybelline SuperStay Matte Ink in Pioneer. It survives meals, layers cleanly over liner, and costs under $12. Choose one formula from the dupe table, practice the center-out method for a week, and judge the routine by your lip symmetry and wear, not by the first rushed swipe.
Frequently asked questions
How do I choose a lipstick shade for my undertone?
Look at whether your skin reads warm, cool, or neutral, then choose lipstick with a similar direction. Warm complexions often suit warmer reds and peaches, cool complexions can handle blue-based reds and pinks, while neutral undertones can move between both. Your natural lip color matters too, so apply a thin layer before deciding whether a shade is flattering.
Should I use lip liner before or after lipstick?
Use liner before lipstick when you want shape, grip, and a cleaner perimeter. Fill the lips with the liner, then apply lipstick from the center outward. Use concealer afterward only for cleanup, not as a replacement for the initial outline.
How can I stop lipstick from getting on my teeth?
After applying lipstick, close your mouth gently around a clean finger and pull it out. This removes excess color from the inner rim, where it's most likely to transfer onto your teeth.
Can I create a blurred lip with this method?
Yes. Keep the liner close to the natural border, place lipstick at the center, and tap the edges with a fingertip or small brush. Crayon formulas and satin bullets are easier to blur than fast-drying liquid mattes.
How do I remove long-wear lipstick comfortably?
Use an oil-based cleanser, cleansing balm, or micellar water designed to break down makeup. Hold the saturated cotton pad against the lips briefly, then wipe gently rather than scrubbing. Finish with a light balm once all pigment is gone.
The best dupe is Maybelline SuperStay Matte Ink in Pioneer for its affordable price, flexible shade range, and reliable long-wear finish, but the right choice still depends on whether you prefer satin, liquid matte, crayon, or balm. Prep lightly, line with intention, apply from the center outward, and set only where transfer happens.
Finding Favourites helps you compare affordable alternatives to luxury makeup, including lipstick dupes organized by shade, finish, price, and wear. Visit Finding Favourites to choose your next budget-friendly lip product, then put this center-out routine to work.