
How to Use Translucent Powder Like a Pro
You've finished your base, checked it in the mirror, and walked outside feeling polished. Then the forehead starts shining, concealer gathers beneath one eye, and the nose looks as if the foundation is slowly migrating. A quick layer of translucent powder seems like the obvious fix, but too much can leave dry patches, emphasize texture, or turn perfectly good makeup white in flash photography.
Learning how to use translucent powder is less about coating the face and more about controlling where, when, and how much product lands on the skin. The best finish usually comes from a thin, targeted layer that keeps movement and shine in check while leaving the high points of the face fresh.
This post may contain affiliate links, which means I may receive a commission if you purchase through my links, at no extra cost to you. Please read the disclosure policy for more information.
What Translucent Powder Does for Your Makeup
By lunchtime, the foundation may still look even while concealer creases and the center of the face becomes noticeably shiny. Translucent powder absorbs some surface oil and limits movement in cream and liquid makeup. It does not add complexion color, and it cannot replace primer, foundation, or setting spray.
Translucent powder is generally colorless, allowing it to set the makeup underneath without adding coverage or shifting the matched foundation shade. A tinted setting powder can adjust color slightly and provide more visible complexion correction. Translucent powder suits days when you want the original shade to remain unchanged. Vogue's makeup-artist guidance explains the difference between translucent and tinted setting powders.
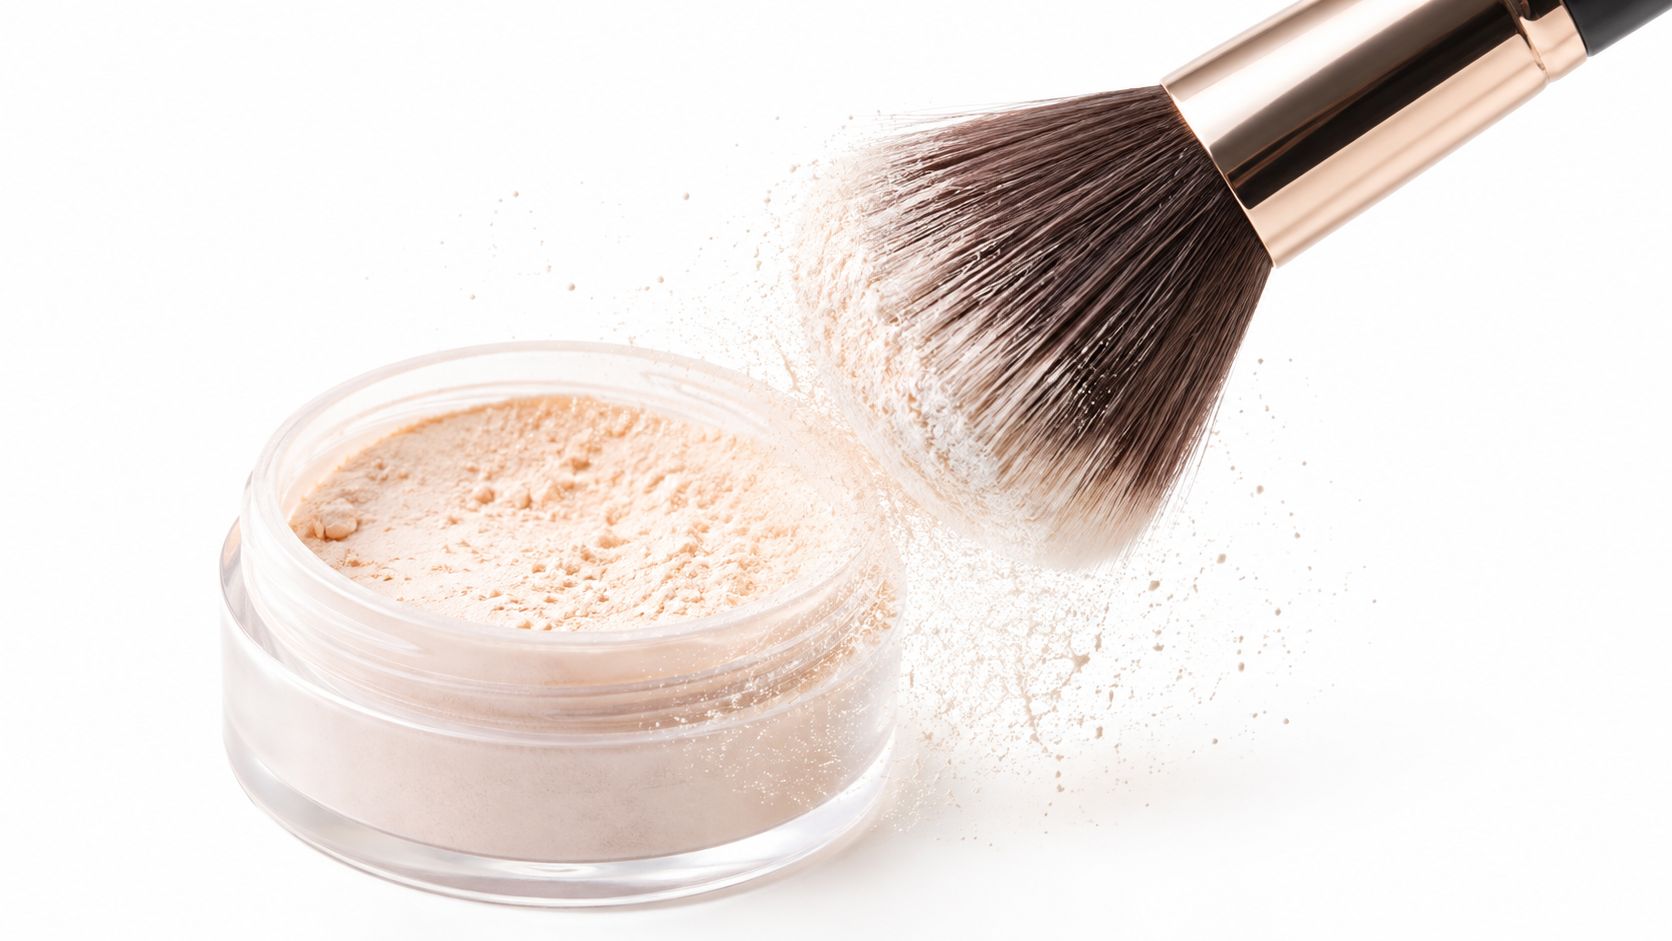
Use a thin film, not a full-face mask
The common mistake is treating powder as a finishing blanket. A heavy layer can look smooth at first, then make pores, flakes, and fine lines more apparent as the day wears on. A better approach is a thin setting film placed only where makeup needs support.
Set beneath the eyes, beside the nose, across the forehead, or on the chin if those areas crease or shine. Leave the cheekbones mostly bare when you want the skin to retain its natural dimension. This zone-by-zone placement controls oil without flattening the entire face.
Use the smallest amount that gives the area a clean, stable finish. A brush can distribute a light veil, while a puff can press powder into a specific spot when more hold is needed. Check the result in natural light before adding another layer, especially over dry patches or textured skin.
When to Apply Translucent Powder in Your Routine
The correct order is simple: skincare first, complexion products next, powder after creams and liquids. Apply moisturizer, sunscreen, primer if you use one, foundation, concealer, color corrector, and cream blush before reaching for translucent powder. Powder-based blush, bronzer, and highlighter can follow the setting step.
Translucent powder is typically used after moisturizer, foundation, concealer, or color corrector. It absorbs excess surface oils and helps reduce movement in the layers underneath, while applying it earlier can interfere with blending and create a heavier, uneven finish. Typology's face-powder guidance outlines this after-step sequence.
Give the base time to settle
Don't powder immediately over wet-looking foundation. Let the liquid and cream products settle briefly, then inspect the face in a mirror. If you see excess product collecting around the nose or beneath the eyes, press a clean tissue or sponge against the area before setting it.
Start at the center of the face, where shine and movement usually appear first. Use progressively less product toward the perimeter, and don't automatically powder the cheekbones if you want to keep a skin-like finish.
A practical order looks like this:
- Prepare the skin: Finish moisturizer and sunscreen, then wait until they form a comfortable, continuous film.
- Complete the cream layers: Apply foundation, concealer, corrector, and cream blush.
- Remove visible excess: Blot oil or pooling product with a clean tissue or sponge.
- Set selectively: Press a small amount onto crease-prone and shiny zones.
- Add powder color: Apply powder blush or bronzer after the complexion has been stabilized.
If your makeup regularly separates before midday, prep may matter as much as the powder itself. A useful companion resource is ALODERMA's aloe prep guide, especially if you're trying to create a smoother base before setting it.
Loose powder works well when you want adjustable placement under the eyes or around the nose. Pressed powder earns its place in a handbag because it lets you correct shine without opening a loose container or creating airborne dust.
Tools and Techniques That Prevent a Powdery Finish
The tool changes the finish as much as the formula. A fluffy brush distributes the thinnest veil, a puff deposits more product with greater precision, and a sponge can create concentrated coverage when used carefully. For everyday makeup, a soft brush is forgiving. For an oily nose or a concealer crease, a puff gives more control.
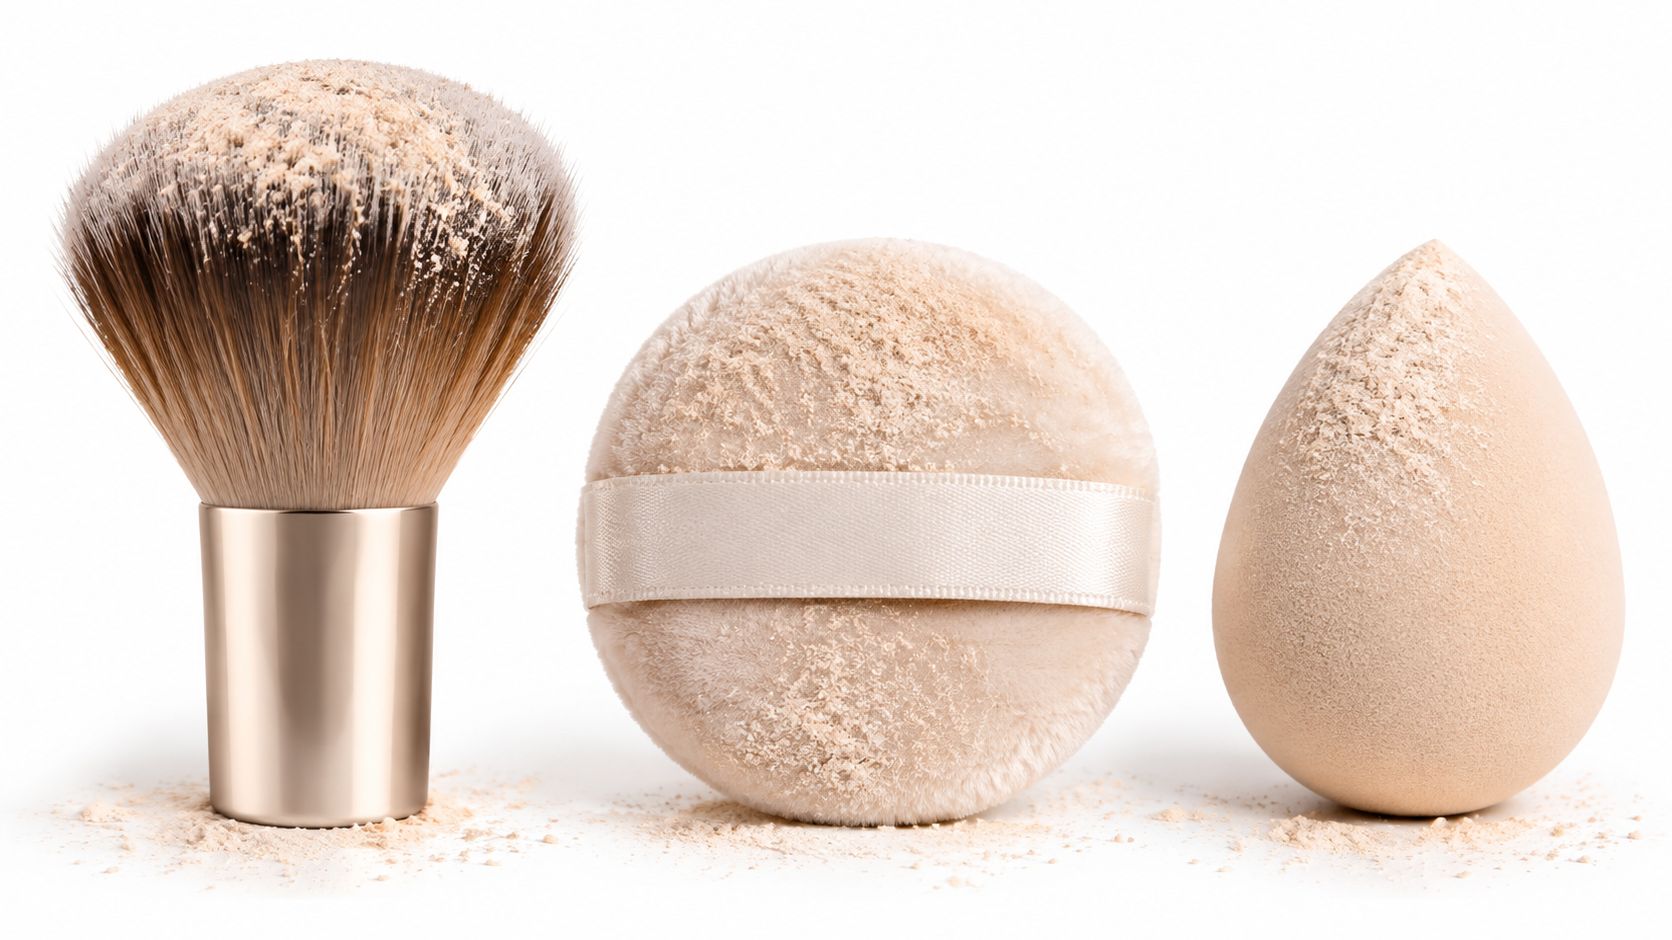
With a brush, swirl lightly into the product, then tap away the visible excess before touching the skin. Place the brush where you need control and use a gentle pressing or rolling motion rather than aggressive circular buffing. Buffing can shift uncured foundation and concentrate product in pores.
A puff needs a little preparation. Press it into loose powder, fold it in half, and rub the sides together so the powder works into the fabric. You can also tap the powdered side against the back of your hand. That removes the loose surface layer and leaves a more even deposit.
Press, don't buff. The goal is to anchor the makeup underneath, not polish the powder through it.
Match the tool to the job
- Fluffy brush: Choose it for a light veil across the forehead, chin, or inner cheek.
- Velour or cotton puff: Use it for targeted pressing beneath the eyes, around the nose, or over areas that transfer.
- Damp sponge: Reserve it for controlled deposits on particularly oily spots. It can place more product than you expect, so start with very little.
- Clean tissue: Use it before powder to remove excess oil rather than trying to bury oil beneath another layer.
Laura Mercier's instructions also recommend applying loose powder after foundation, concealer, and other creamy formulas, including cream blush, but before powder-based color products. The technique includes pressing and rolling a puff over the skin instead of dragging it. The product instructions are available through Sephora.
For more troubleshooting around texture, the guide to making makeup look less cakey is useful when powder is only one part of the problem.
Here's a short routine I use when I want the least visible finish:
- Pick up a small amount.
- Tap off what looks excessive.
- Press onto one zone.
- Check the texture before adding more.
- Remove only visible residue with a clean, fluffy brush.
Zone by Zone Application for Oily Dry and Mature Skin
Skin type should determine where you powder, not whether you powder the entire face. Oily skin often needs a stronger center-face strategy, while dry or mature skin benefits from leaving as much surface dimension untouched as possible. Combination skin usually looks best with different decisions on different zones.
Before applying, let liquid or cream products settle. Remove visible oil with a clean tissue or sponge, then load a small amount onto a soft brush or puff. Press, rather than sweep, onto high-movement or high-shine areas. This controlled, thin-film approach is preferable to a heavy layer across the whole complexion. Technical guidance on cosmetic powder behavior and application is available from HORIBA.
| Skin Type | Powder Zones | Finish Tip |
|---|---|---|
| Oily | Forehead, nose, inner cheeks, chin | Add a pinpoint press later instead of coating the whole face at the start |
| Dry | Under-eye creases and areas prone to transfer | Keep powder away from flaky or tight patches |
| Combination | Center forehead, nose, chin, and selected under-eye areas | Leave the outer cheeks and cheekbones luminous |
| Mature | Creases, sides of nose, and only the areas that move | Use the smallest amount that controls transfer |
Oily skin
Press powder into the sides of the nose, the center forehead, and the chin. If shine returns later, blot first and add a small second application only where needed. Re-powdering an already oily surface without blotting tends to create a paste-like texture.
Dry and mature skin
Use powder as a correction tool, not a full-face finish. Set concealer where it creases, then stop. Repeatedly adding absorbent product over dehydration can exaggerate flakes and fine lines, so the cheekbones and broad areas of the face are often better left alone.
Readers with dry skin can compare placement and formulas in this guide to pressed powder for dry skin.
Combination skin and a dewy finish
Combination skin rewards selective setting. Powder the T-zone and inner cheek area near the nose, but leave the high points of the cheeks with their natural radiance. If your priority is a dewy finish, setting spray or mist can be a better partner for the unpowdered areas, while powder handles the zones where transfer matters most.
More powder doesn't automatically equal longer wear. A lighter complexion with strategic powder and a finishing mist can look more natural than a heavily powdered face that has begun emphasizing texture.
How to Avoid Flashback Caking and Safe Handling Mistakes
A powder that looks invisible in the bathroom can turn pale under direct flash. “Translucent” does not guarantee photographic invisibility, because reflective or light-scattering ingredients may appear differently on camera. Test the actual product in the lighting you expect rather than relying on its label.
Apply a small amount to the zones you usually set. Check the result in natural light, strong overhead light, and direct flash. A technical study reported no flashback for its tested magnesium-carbonate formulation, but that finding applies only to that formulation and its test conditions, not to every translucent powder. The flashback testing method is discussed by Fritsch.
Diagnose the finish before adding more
Caking can start before powder touches the skin. Unsettled skincare or sunscreen may pill beneath makeup, while excess foundation can collect in folds and make powder look thick. Aggressive buffing can move the base and push pigment into pores.
Use this troubleshooting sequence:
- Looks white in photos: Test under direct flash, then remove visible surface residue with a clean brush. For formula comparisons, see a roundup of setting powders for flashback-free wear.
- Looks thick around the nose: Blot first, then press a tiny amount into the crease.
- Looks dry beneath the eyes: Use less product and avoid repeated layers over the area.
- Looks patchy: Check whether sunscreen or skincare has formed a continuous film before makeup.
- Gets shiny again: Blot before re-powdering instead of pressing powder directly onto oil.
Baking-style application can suit short-duration, high-transfer areas, but it is less forgiving for everyday wear. A thin pressed layer usually feels more comfortable for several hours and is less likely to emphasize texture.
Handle loose powder with care
Loose formulas require controlled handling. Tap excess into the container or lid instead of shaking up a cloud, and keep the container covered between uses. Avoid deliberately inhaling airborne powder, and do not apply it to peeling, inflamed, or otherwise compromised skin.
Poison Control advises keeping loose powders away from children because inhalation can cause serious lung problems. Its guidance also recommends clean hands, clean brushes, covered containers, and moisturizer to reduce irritation and dryness. Read the loose-powder safety guidance from Poison Control.
Talc calls for ingredient awareness rather than panic. FDA records describe a long history of investigating possible asbestos contamination in cosmetic talc, while FDA testing of selected talc-containing products found no asbestos in the samples examined. The FDA also states that these results do not prove every talc-containing cosmetic is free from contamination. Reuters' investigation summarizes the FDA's talc history and limitations. If airborne exposure concerns you, choose a talc-free formula or pressed powder, and apply it sparingly.
Translucent Powder FAQs and Final Wrap Up
Can I reapply translucent powder over sunscreen?
Yes, but blot visible oil first and use a minimal amount. Pressing powder directly over a wet or unsettled sunscreen layer can increase pilling and unevenness, so give the skincare film time to settle before touching up.
Should I apply powder before or after eye makeup?
If loose powder fallout is a concern, complete eye makeup first and clean away any fallout before complexion setting. If you prefer to do complexion first, keep the powder controlled and avoid creating a loose cloud near the eyes.
Is pressed powder better for travel?
Pressed powder is usually more convenient for travel and touch-ups because it stays contained and is easier to control in a compact. Loose powder can offer more adjustable targeted application, but it requires a careful lid, tool, and tapping technique.
Can translucent powder replace setting spray?
Not completely. Powder absorbs surface oil and helps reduce movement, while setting spray or mist can support a more flexible, skin-like finish. Many people get the most natural result by powdering only the shiny or crease-prone zones and leaving the rest of the face unpowdered.
The best approach is selective rather than heavy: prepare the skin, let cream and liquid products settle, press a small amount into the zones that need control, and inspect the finish in natural light and flash. For most skin types, the best translucent-powder method is a light, targeted application, not full-face baking.
Finding Favourites helps beauty shoppers compare affordable alternatives to luxury makeup through dupe roundups, hands-on testing, and practical guidance on texture, finish, shade matching, and wear. Visit Finding Favourites to explore budget-friendly powder options and makeup techniques that support a polished finish without unnecessary layers.