
How to Apply Blush Correctly: 5 Best Dupes
Your foundation looks smooth, then you add blush and suddenly there's a bare patch on your cheek, a bright stripe near your ear, or tiny rolls of makeup on your brush. Before you replace the blush, check what's underneath it. Learning how to apply blush correctly starts with matching textures, controlling your tools, and knowing when to stop blending, not buying a more expensive compact.
This post may contain affiliate links, which means I may receive a commission if you purchase through my links, at no extra cost to you. Please read the disclosure policy for more information.
Matching Blush Formulas to Your Base Makeup
Match blush to the surface of your makeup, not just your skin type. Dry skin can still have a powdered foundation on top, while oily skin can be wearing a flexible skin tint. Your brush touches that finished surface, so that's the texture you need to assess.
Professional cream and liquid blush guidance recommends applying foundation or spot concealer first, then dabbing on cheek color rather than rubbing. Working liquid blush onto your hand or a palette before loading the brush also gives you more control than depositing it straight onto your face.
Choose your product order
- For cream or liquid blush: Finish your foundation and concealer, leaving the cheek area flexible. Load a clean brush or sponge lightly, then press the color into place.
- For powder blush: Set the relevant area enough that the brush can move without sticking. A tacky patch can grab the initial deposit before you have a chance to distribute it.
- For a layered finish: Keep the cream application thin, finish blending, and let it settle before considering coordinating powder.
The cream blush versus powder blush guide can help you decide which route suits the makeup you already own. You don't need both formulas to make a routine work.
Treat primer as part of the base
If you're considering an aloe-based preparation step, AloeCure's guide to aloe primer is a useful starting point for understanding that option. Don't assume adding another preparation layer will solve patchiness, though. Test the complete combination on a small cheek area before committing to it.
Practical rule: If the base moves when you touch it, reduce friction before adding more pigment.
Use a controlled tapping motion with creams and liquids. Save airy sweeping motions for a surface that allows the bristles to glide without disturbing your coverage.
Choosing the Right Shade for Your Skin Depth
A blush can match your undertone and still look wrong because its pigment is too pale or too sheer for your complexion. Undertone and saturation are separate decisions. Undertone helps you choose the color family; saturation helps determine whether that color remains visible after blending.
Allure's powder blush guidance distinguishes the lighter pigment needs of fair skin from the stronger pigmentation often needed on deeper complexions. It also recommends evaluating blush on the cheeks, where you can judge its relationship with natural lip color or lipstick.
Choose visibility before subtlety
For fair skin, start with a soft, buildable application rather than assuming you need a pale shade. A vivid blush can still work when you control the deposit carefully.
For deeper skin, consider berry, brick, plum, terracotta, or vivid coral before dismissing blush as something that disappears. Sheer pastel pinks and low-saturation beige shades can look chalky or grey instead of providing a clear flush.
The answer isn't necessarily more product. A more saturated color, used sparingly, can be a better choice than repeatedly layering a shade that never looks right.
| What you see on your cheek | What to try |
|---|---|
| Color disappears during blending | A more saturated shade |
| A pale or grey-looking cast | Less pastel or beige in the color |
| Clear color but too much intensity | A lighter initial application |
Test the finished combination
Try blush over the foundation you wear, not only on your bare arm. Check it beside your lips, then look again in normal daylight before deciding whether it needs more warmth, depth, or softness.
On deeper complexions, keep the strongest color around the cheek's high point and soften the perimeter rather than blending the entire application away. The guide to choosing blush for your skin tone offers another way to narrow your color family without treating undertone as the only consideration.
Placement and Blending Techniques for Every Face Shape
For a soft finish, look for a visible center of color with no obvious boundary around it. This portrait illustrates that balance.
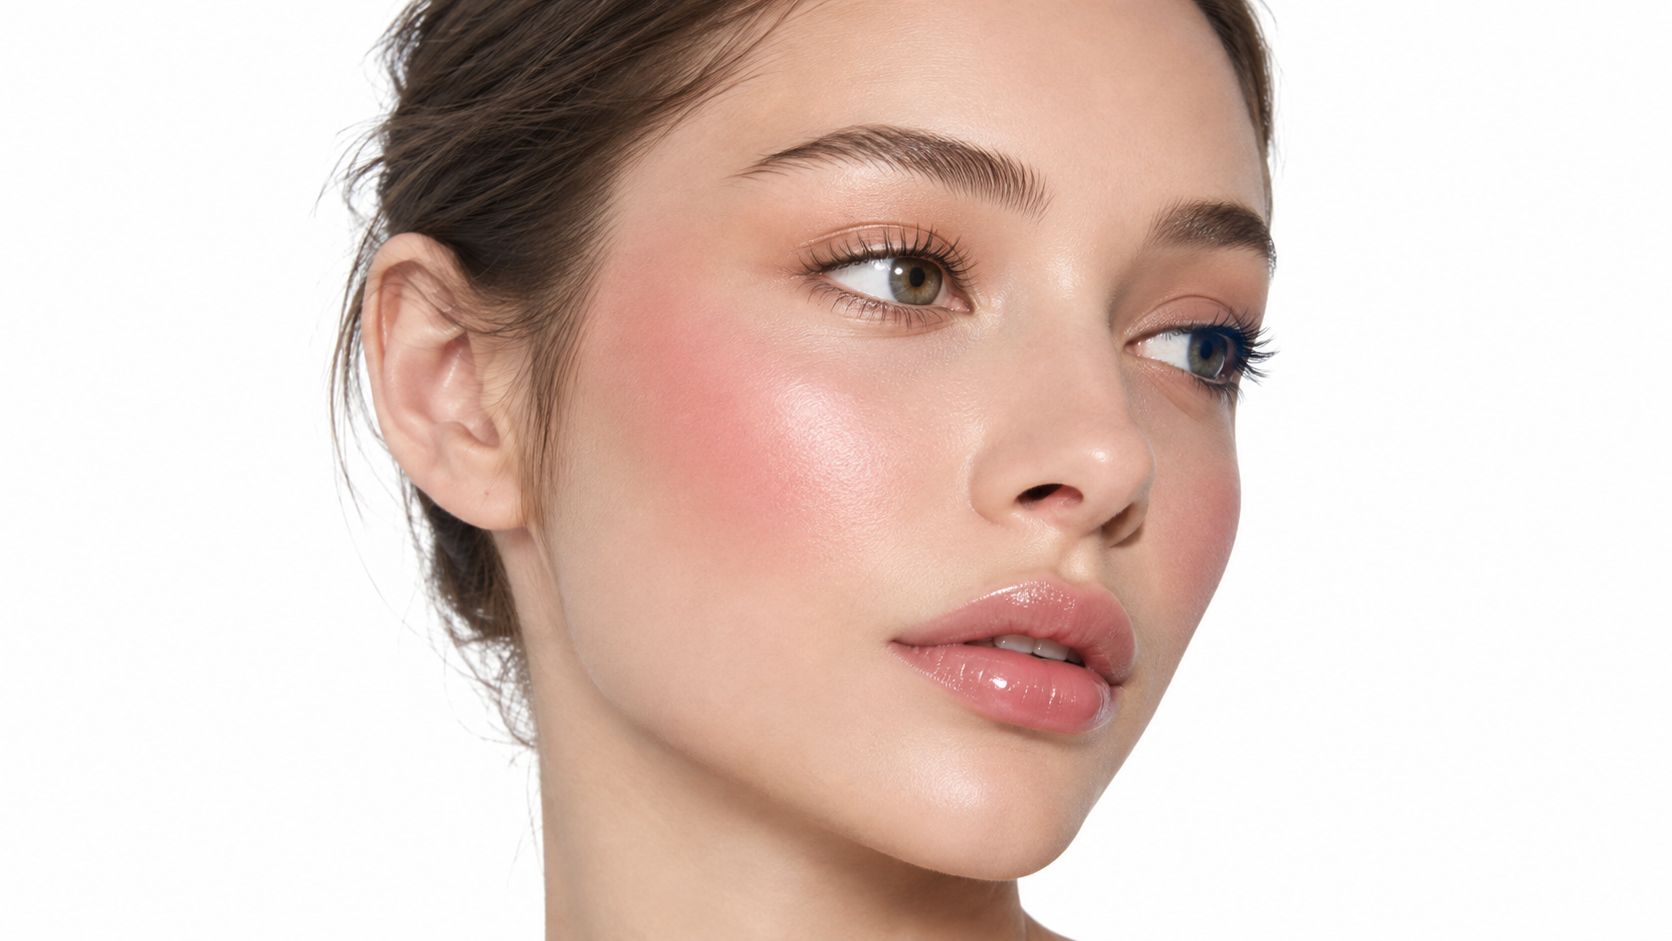
For a lifted effect, Cosmopolitan's blush placement guidance recommends starting approximately beneath the outer pupil or on the upper apple, then moving outward along the cheekbone toward the temple. Treat that as a starting point, not a stencil every face must follow.
Build the shape before the intensity
Begin with a lightly loaded tool. Place the initial color deliberately, then use short taps or stippling motions to connect the surrounding area into a curved C-shaped path.
Once the pigment is integrated, soften the perimeter with light upward sweeps if your base allows it. Don't keep scrubbing the center while trying to erase an edge.
- For rounder faces: Try higher placement near the outer cheekbone when you want more visual definition.
- For square faces: Keep more color on the apples and diffuse toward the ears for a softer effect.
- For other face shapes: Compare an apple-focused application with an outer-cheek placement and choose the balance you prefer.
Keep the area between the nose and inner eye relatively clear for this particular look. Bringing color too close to the nose can visually pinch the center, while placing it too low can create a drooping impression.
A lifted look is an aesthetic option, not a correction your face needs.
Judge the whole expression
Facial color influences how people interpret emotion. In a study summarized by ScienceDaily, participants identified neutral faces given happy-associated color patterns as happy about 70% of the time.
That wasn't a cosmetic application test, and it doesn't establish an ideal blush placement. It does support assessing the overall expression rather than judging a cheek swatch in isolation.
For a moving demonstration, watch the application and compare the tool pressure with your own.
Finish by facing forward with your expression relaxed. Add intensity only where you want it, rather than enlarging the entire blush shape.
5 Best Luxury Blush Dupes for a Flawless Flush
Top 5 Luxury Blush Dupes
| Dupe Product | Luxury Match | Finish |
|---|---|---|
| e.l.f. Camo Liquid Blush | Rare Beauty Soft Pinch Liquid Blush | Liquid flush |
| Milani Baked Blush | NARS Blush | Radiant powder direction |
| e.l.f. Putty Blush | Fenty Beauty Cheeks Out Freestyle Cream Blush | Soft cream direction |
| Milani Cheek Kiss Cream Blush | Stila Convertible Color | Cream flush |
| essence Pure Nude Baked Blush | Hourglass Ambient Lighting Blush | Luminous powder direction |
These are editorial alternatives for a similar makeup effect, not promises of identical ingredients, shade matches, or wear. The pairings give you a practical shopping shortlist without pretending every budget formula is interchangeable with its luxury counterpart.
No verified current prices or comparative wear tests are available for these pairings, so exact savings and equal-performance claims would be misleading. Check current US stock and the individual shade before purchasing.
1. e.l.f. Camo Liquid Blush
Best overall editorial pick, particularly if you're considering the liquid-blush approach associated with Rare Beauty Soft Pinch Liquid Blush. Choose this comparison when your priority is a controlled liquid flush rather than an exact shade duplicate.
Work a small amount through your brush on a palette before touching your cheek. This is the pairing I'd prioritize for someone willing to manage pigment carefully rather than expecting a quick, unrestricted swipe.
2. Milani Baked Blush
Consider this alongside NARS Blush when you want to explore a radiant powder look. Compare individual shades closely, because a similar color family doesn't guarantee the same shimmer or depth on your face.
Use a soft, moderately sized blush brush and keep the application localized. Don't choose a luminous shade solely because it looks beautiful in the pan if you prefer a less reflective cheek.
3. e.l.f. Putty Blush
This is an editorial alternative to investigate if Fenty Beauty Cheeks Out Freestyle Cream Blush appeals to you. The useful comparison is the cream-blush approach, not an assumption that the formulas behave identically.
Pick up product with a brush rather than pressing a heavily loaded tool directly onto foundation. Look for the shade that gives you clear color without requiring excessive layering.
4. Milani Cheek Kiss Cream Blush
Shortlist this against Stila Convertible Color for a cream-flush routine. Choose according to the cheek effect you want, not because you expect the same feel or every possible use of the luxury product.
A sponge can be a useful application option if you already own one. You don't need a dedicated luxury brush to try the technique.
5. essence Pure Nude Baked Blush
Consider this alongside Hourglass Ambient Lighting Blush when your goal is a luminous powder direction. Treat the comparison as a finish preference rather than a claim of matching Hourglass's particular effect.
Apply selectively and examine the result from the side. Reflection matters as much as color when you're choosing this kind of blush.
Troubleshooting Common Blush Mistakes
Stop adding product as soon as the surface starts breaking up. More blush rarely helps you diagnose whether you're seeing loose powder, displaced foundation, or actual pilling.
Fix the problem you can see
- Powder has a harsh boundary: Start with a clean, fluffy brush and feather only the edge. If the surrounding base is tacky, consider a trace of translucent powder there, but avoid blanketing an already dry cheek.
- Foundation has lifted: Stop sweeping. Try pressing the area gently with a clean, barely damp sponge, then reassess the coverage before adding anything.
- Makeup is rolling into little particles: Don't try to dissolve the rolls by piling on setting spray. Lift away loose debris gently and repair the affected patch.
- The color is too strong: Press around the perimeter with the tool used for your foundation, using its remaining residue rather than immediately adding a fresh layer.
A damp sponge may help settle a disturbed surface, but it can't guarantee that incompatible layers will merge. Likewise, setting spray isn't a universal rescue product. If you try it, avoid saturating an area that's already unstable.
Repair the smallest affected area first. You may not need to redo the whole cheek.
Prevent the repeat mistake
Tap excess powder off your brush before application, and change only part of your routine at a time when troubleshooting. Otherwise, you won't know whether the improvement came from the tool, preparation, or product order.
The guide to making makeup less cakey is useful when the texture problem extends beyond blush. If you're concealing an actual bruise rather than cosmetic unevenness, ProMD Health's color correction tips for facial bruising address that separate task.
Keep tools clean and avoid repeatedly rubbing irritated skin. A systematic review of cosmetic adverse effects addresses reactions to cosmetics broadly, not blush alone; stop using a formula if you develop burning, persistent redness, itching, or new breakouts, and patch-test unfamiliar products.
Frequently Asked Questions and Final Thoughts
Can you apply powder blush over cream blush?
Yes, provided the cream layer has settled and you use a restrained amount of powder. The texture-matching approach above matters more than a rigid rule that everyone needs both.
For an everyday look, skip the extra layer if your cream application already looks finished. More steps aren't automatically better value or better makeup.
How do you stop blush from fading by midday?
Before changing products, notice what has faded: the cheek color alone, or the foundation beneath it too. That distinction helps you decide whether to adjust your blush application or investigate the base combination.
You can try coordinating powder over your settled cream application, but don't treat layering as a guarantee of all-day wear. Judge the result on your own skin before buying another formula.
Can you use lipstick as cream blush?
I'd choose a product explicitly intended for cheek use rather than assuming every lipstick is suitable. A flattering lip shade doesn't tell you how that formula will blend over foundation or whether your cheeks will tolerate it.
If the product is labeled for both lips and cheeks, follow its directions. Otherwise, a dedicated blush is the simpler option.
How should you refresh blush for an evening look?
Check the surface before touching up. If the cheek is now powdered, I'd avoid experimenting with a generous cream layer immediately before going out.
Add color only where it has faded, then assess it alongside your evening lip color. You may need less additional blush than you expected.
Which budget dupe should you try first?
e.l.f. Camo Liquid Blush is my best overall editorial dupe pick for readers interested in the Rare Beauty-style liquid-blush approach, not a verified identical replacement. If you prefer powder, choose from the powder alternatives instead of buying a liquid because it tops a list.
A polished flush comes from a compatible base, a visible but flattering shade, and deliberate placement. Keep those decisions practical, preserve the foundation you've already applied, and spend on the formula you'll enjoy using rather than the prestige name.
For more budget-minded comparisons, visit Finding Favourites for affordable alternatives across makeup, skincare, and fragrance. Use its blush guides and dupe roundups to narrow your next purchase, or sign up for the newsletter for new finds and discount codes.