
Lip Liner Tutorial for Fuller, Longer Lasting Lips
You're halfway through your latte when you catch your reflection and notice the lip liner has become a dark ring around your mouth. Or maybe the color looked beautiful at home, then slid, feathered, and faded before your first meeting ended. This lip liner tutorial takes a softer approach. You'll learn how to map your shape, build fullness, choose a formula that fits your routine, and blend until the liner supports your lips without announcing itself.
This post may contain affiliate links, which means I may receive a commission if you purchase through my links, at no extra cost to you. Please read the disclosure policy for more information.
Why Modern Lip Liner Is About Disappearing Into the Lip
The most flattering liner often goes unnoticed. Instead of leaving a visible border, it creates quiet structure around the mouth, adds depth beneath lipstick, and helps the edges look polished after the center color begins to fade.
That shift makes sense if you've ever drawn a crisp outline, applied lipstick, and then seen the two products sitting separately on your lips. A hard perimeter can make even a beautiful shade look dated or overly worked. A feathered edge, by contrast, lets the liner melt into lipstick, balm, or gloss for a softer, lived-in finish.
Beauty coverage has increasingly focused on feathered edges, subtle shaping, and liner blended into balm or gloss, rather than a stark ring around the mouth. Recent lip liner trend coverage describes this direction as less liner and more refinement, with products also taking on skincare-like and multiuse positioning.
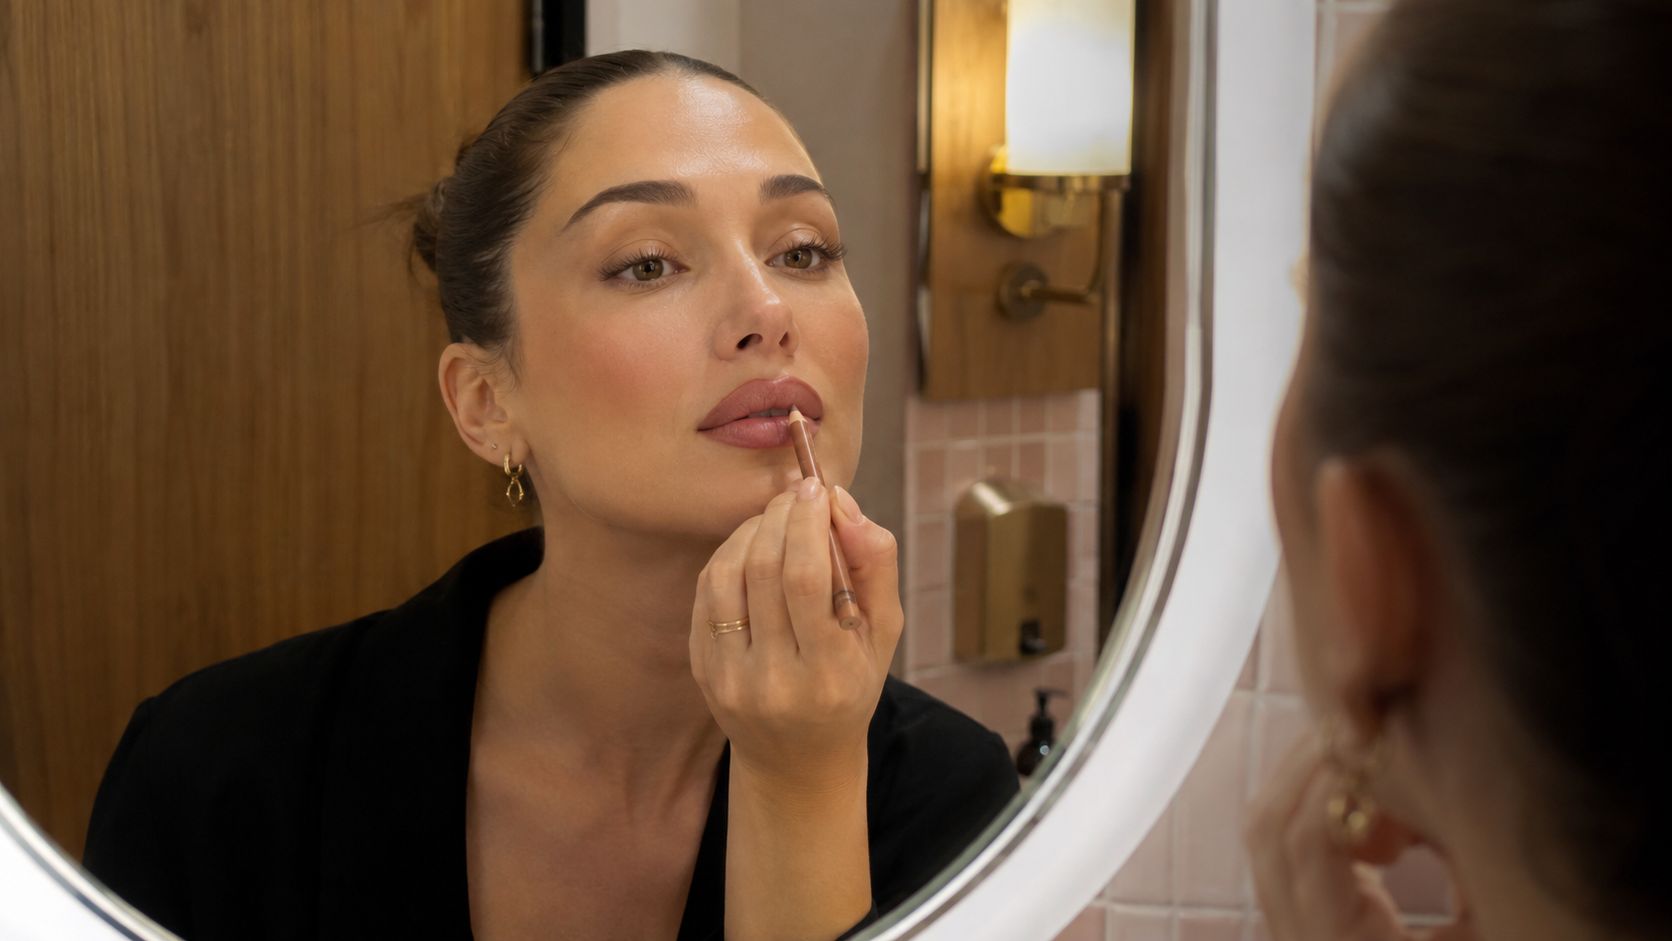
Think structure before decoration
Treat liner as a structural tool, not the final decoration. It can clarify the Cupid's bow, balance uneven corners, create a gentle shadow beneath the lower lip, and give lipstick somewhere to meet the skin cleanly.
That doesn't mean you need to overline dramatically. The modern effect comes from placing color where it creates dimension, then softening the inner edge. Your lip shape stays recognizable, but the finish looks plush rather than drawn on.
Lip liner also has a substantial place in everyday beauty rather than existing only in editorial makeup. Independent estimates place the global category at about USD 1.05 billion in 2025, with a projection of USD 1.85 billion by 2034, implying a 6.7% CAGR over that forecast period. The market estimate also places the U.S. at roughly 22–25% of global demand by 2026, showing why practical technique advice matters to both casual makeup wearers and committed beauty shoppers.
The finish to chase: You should see a fuller, more balanced lip before you see the pencil.
Prepping and Mapping Your Lips the Right Way
Prep determines whether your pencil glides or catches. Begin with clean lips, then remove loose dry skin with a damp washcloth or a gentle sugar scrub. Keep the pressure light. Scrubbing aggressively can leave the surface irritated, which makes pigment look patchier instead of smoother.
Press in a thin layer of balm, then blot away the excess. Expert guidance recommends allowing balm to settle for about 90 seconds, leaving the lips lightly tacky rather than slippery, because too much slip can increase drag and reduce line control. If your lips need extra care, compare an everyday balm with a treatment in this guide to Aquaphor Lip Repair and Healing Ointment.
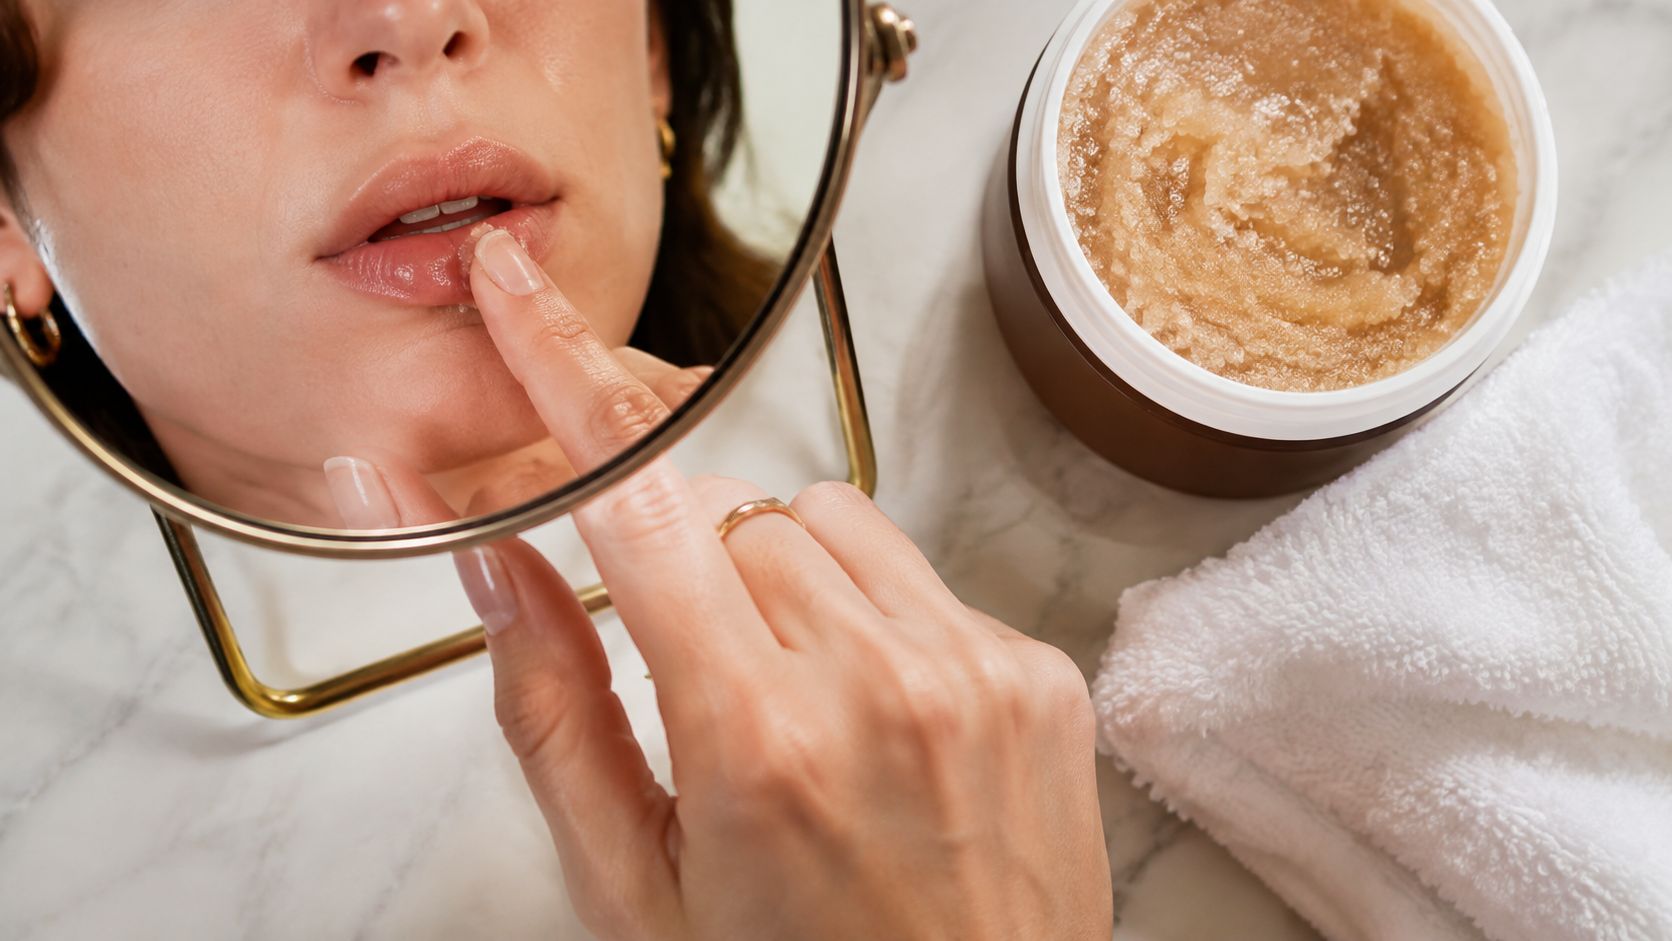
Use dots before you connect the shape
The dot-dot-dash method gives you more control than starting at one corner and dragging a continuous line. Use a sharpened pencil with a comfortable medium point, then map the shape in small checkpoints:
- Cupid's bow: Place three small dots across the two peaks and the center dip. These marks help you decide whether you're following your natural shape or making a restrained adjustment.
- Lower corners: Add one checkpoint near each lower corner, staying close to the natural edge.
- Connect outward: Use short, feathery strokes from the center toward each corner. Keep the pencil angled so you're not pressing the sharpest part of the point directly into dry texture.
- Check symmetry: Look straight into a mirror, then smile slightly. Correct the side that needs adjustment before adding lipstick or gloss.
The center-outward motion keeps both sides connected to the same reference points. It also stops you from overfilling one side because you began there and kept extending the line.
Avoid drawing the full perimeter immediately. A dull tip, an ultra-fine point, or heavy pressure can create a smudged, uneven outline. Light, short strokes let you build pigment gradually and preserve the natural texture of the lips.
Layering for Fuller Looking Lips Without a Harsh Line
Fullness comes from placement and contrast, not from drawing far outside your mouth. A lip that's outlined, softly shaded, and given a little brightness at the center can look more dimensional without looking artificially enlarged.
Start with the map you created, then use a three-pass pattern. Each pass has a different job, so resist the urge to complete everything in one heavy sweep.
Build the shape in three passes
Pass one is the outline. Trace the mapped shape using light pressure. Angle the pencil so the side of the tip lays color flatter against the lip instead of carving a narrow, rigid stripe. Work from the center toward the corners, and pause whenever the pencil begins to drag.
Pass two adds depth. Fill the outer third of the upper and lower lips, moving inward with small strokes. This concentrates color where lipstick tends to lose definition and creates the shadow that makes the center look more prominent. Expert application guidance recommends building coverage in layers and filling roughly 60% of the lip surface, with extra attention on the outer third. This layered lip liner method also recommends softening the edge inward with a brush.
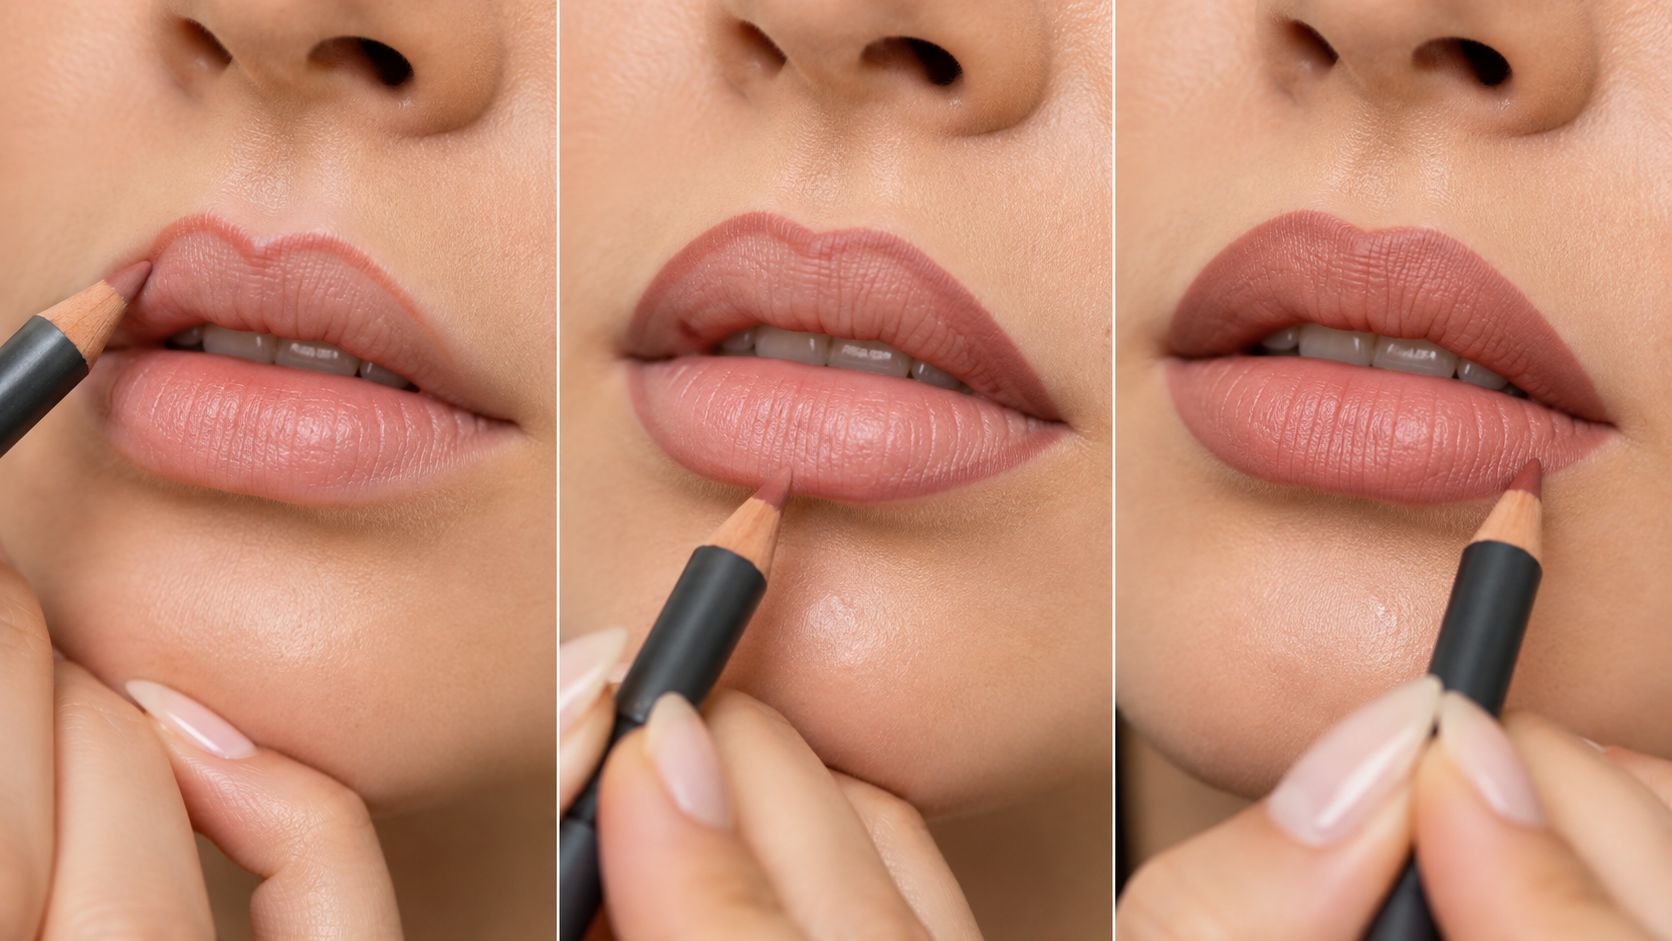
Pass three removes the evidence. Take a flat synthetic brush and blend the inner edge of the liner toward the center of the lip. Don't brush outward, because that spreads the boundary onto the surrounding skin. The finished transition should look hazy, with the deepest color still sitting at the perimeter.
Overlining works best in a few controlled zones:
- Center upper lip: Follow just above the natural Cupid's bow where you want a little extra height.
- Center lower lip: Trace slightly below the natural curve to create the appearance of more volume.
- Outer corners: Extend only minimally, no more than one millimeter, then reconnect to the natural line.
Smile into a hand mirror when you're done. If you can still see a distinct pencil border, blend again before applying color.
Watch the technique in motion here. The center-outward placement matters more than speed, especially when you're learning to keep both sides balanced.
Picking the Right Formula for Your Finish and Budget
Formula changes the whole experience. A creamy pencil gives you time to blur, a matte pencil grips with more authority, and a waterproof pencil prioritizes resistance over flexibility. Choosing based on your intended finish is more useful than choosing by price alone.
| Formula | Finish and best use | Budget pick |
|---|---|---|
| Cream | Soft, blendable, diffused edges | Drugstore cream pencil with a synthetic brush |
| Matte | Pigment-dense definition and lipstick grip | Affordable matte pencil for crisp, longer-wear looks |
| Waterproof | Fixed color for eating or humid weather | Retractable waterproof pencil for portable touch-ups |
Cream for the blurred effect
Choose a cream pencil when you want a diffused edge, gentle overlining, or a liner that can double as a soft base. It glides easily and gives you enough working time to blend inward with a synthetic brush. A drugstore cream pencil can perform like a prestige smudger when the brush does the blending rather than your finger.
The tradeoff is that a very soft formula may need setting and careful layering. Keep the coverage concentrated around the outside rather than applying a thick coat across the entire mouth.
Matte for defined, dependable color
A matte pencil suits a crisp lip, a long office day, or a lipstick that tends to migrate. Matte formulas usually feel less slippery, so they can give the outer edge more grip. They're also useful beneath berry and red shades, where a controlled perimeter makes touch-ups easier.
Don't assume luxury automatically means better wear. An affordable matte pencil can outperform a higher-priced alternative for your specific routine if the shade, texture, and application pressure are right. For more value-focused options, browse this selection of cheap lip liners.
Waterproof for fixed placement
A waterproof pencil is practical for humid weather, meals, and days when you don't want to carry a sharpener. A retractable design makes on-the-go application simple. It sets quickly, though, so it isn't the first choice for heavy blending or a deliberately hazy border.
For shade selection, match the liner to a lipstick that's one tone deeper rather than trying to duplicate your natural lip exactly. That small difference adds structure without creating an obvious outline, especially when the lipstick is pressed over the center.
Pairing Lip Liner With Lipstick and Gloss That Lasts
Apply the liner first, but don't rush straight into a thick lipstick layer. Press lipstick onto the center of the lips, then push it outward with a fingertip or a small brush. Leave a little of the liner visible at the edges so the shape remains defined while the center looks softer and fuller.
Blot once with a tissue to remove excess oils. Rubbing can disturb the mapped contour, so press and lift instead of wiping side to side. A brief set time between layers helps the products settle before you add more color.
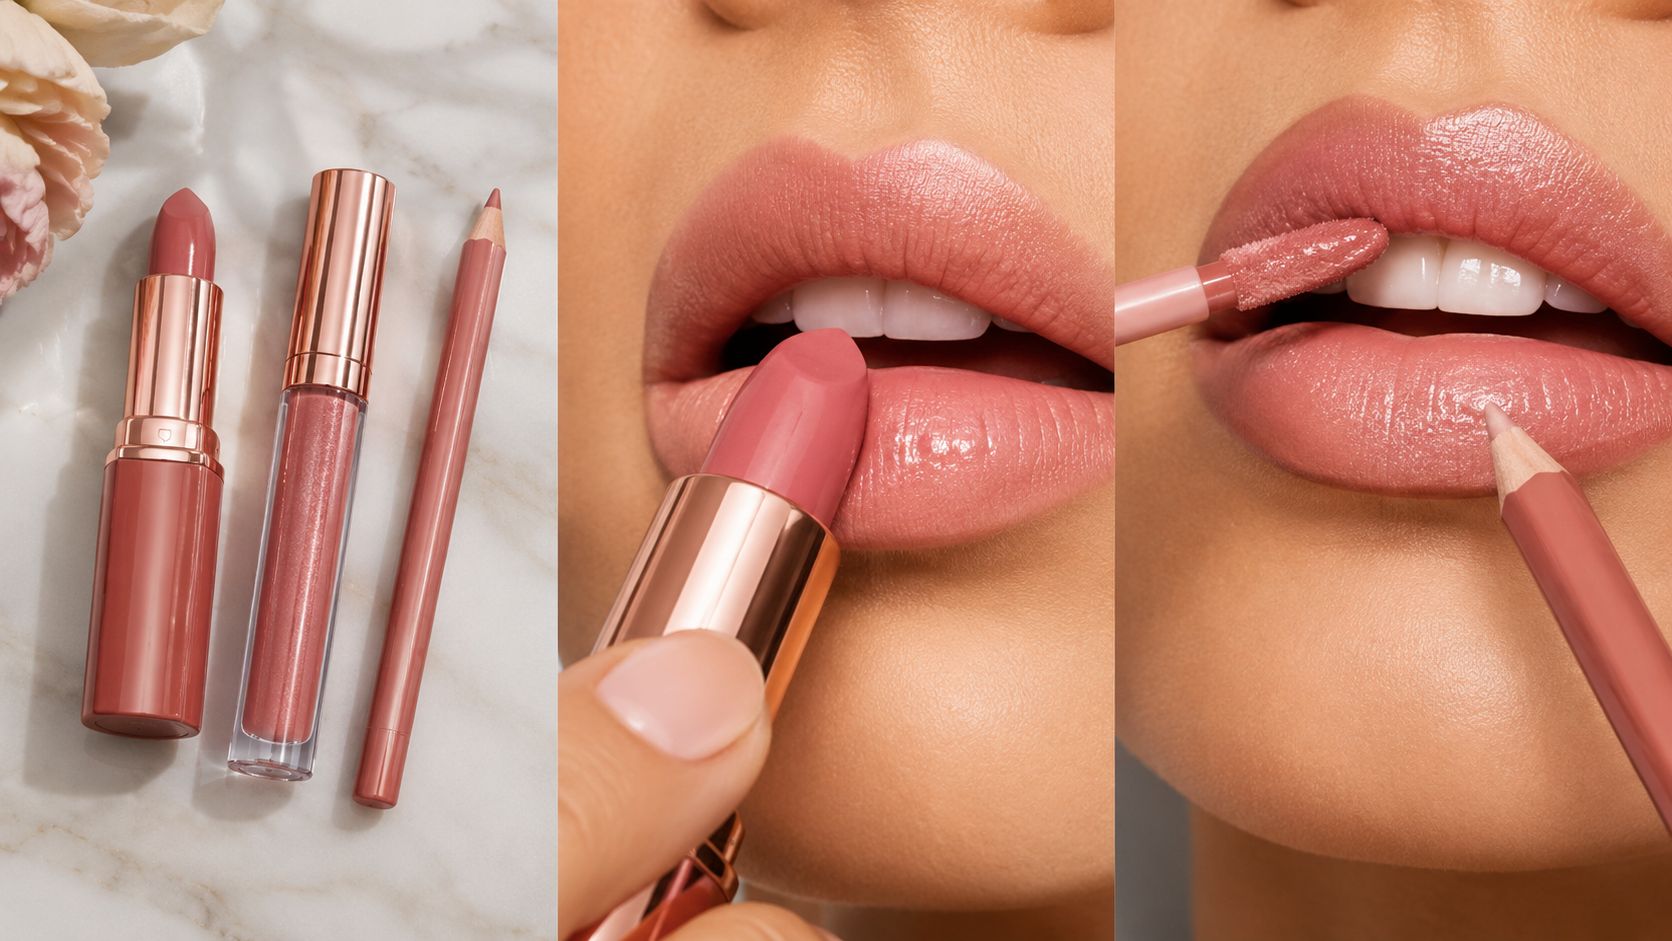
Keep shine away from the edges
Gloss looks most polished when it catches light at the center instead of pooling along the perimeter. Dab it onto the middle of the lower lip, then tap once over the upper bow. This gives you reflection without encouraging the glossy layer to travel into the liner.
For a visual reference while planning a glossy makeup look, you can browse images on Aicut platform, especially if you're deciding how much shine you want concentrated at the center.
Use a light setting layer
For extra staying power, separate a tissue into a single ply and hold it over the lips. Dust a small amount of translucent powder through the tissue, then press on a thin veil of lipstick. The practical sequence is:
- Liner: Map, outline, and shade the outer third.
- Powder: Set lightly through a single-ply tissue.
- Lipstick: Press color into the center and blend outward.
- Second blot: Remove excess without rubbing.
- Gloss: Add only where you want reflected light.
This order keeps the border from becoming sticky and reduces the chance of gloss transferring onto teeth. During touch-ups, refresh the outer corners first rather than redrawing the entire mouth. For a detailed color-placement refresher, see this guide to applying lipstick perfectly.
Three Lip Liner Mistakes That Ruin the Look
A liner can look wrong even when the shade is beautiful. The usual problem isn't the product. It's the pressure, placement, or order of application.
Mistake one is sharpening to a razor point
An ultra-fine tip seems precise, but it encourages you to draw a narrow, hard line and overwork the same area. Use a medium point instead, then turn the pencil slightly so the side of the tip creates a softer sweep.
A sharpened pencil still matters, but precision comes from short strokes and checkpoints, not from forcing the point into the lip. If the tip feels scratchy, stop and adjust it before continuing.
Mistake two is filling the whole mouth with liner
Coloring the entire lip with liner alone can feel dry, heavy, and visually flat. The correction is simple: shade the outer third, blend inward with a brush, and let lipstick or balm provide the comfortable center layer.
This also makes your formula work harder. A matte pencil can give the edges grip while a cream lipstick restores softness in the middle.
Mistake three is ignoring the lower-center shadow
The small dip beneath the lower lip gives the mouth dimension. If you skip that area entirely, the lower lip can look like a flat horizontal shape. Trace the curve just below the natural center, keeping the adjustment to about half a millimeter, then soften it so it reads as shadow rather than a drawn line.
The correction: Let liner support the lip's natural architecture. It shouldn't announce itself before the lipstick does.
Common Lip Liner Questions and the Bottom Line
How do I find a flattering lip shape?
Start with your natural Cupid's bow and lower-lip curve. Place your center dots first, then connect outward with short feathered strokes. If one side is fuller, match the smaller side gradually rather than redrawing both sides beyond their natural boundaries.
How can I extend wear past four hours?
Use a matte or waterproof formula according to your priorities, shade the outer third, and layer lipstick in thin applications. Blot by pressing, set lightly through a single-ply tissue, and keep gloss at the center. The goal is controlled layers, not a thick coat that cracks or migrates.
What should I do when liner smudges into the lip line?
Remove the excess with a pointed cotton swab or a small angled brush, then clean the surrounding edge with a little concealer. Reapply using less pressure and shorter strokes. A cream formula may be easier to blend, while a matte pencil can provide more grip once the surface is dry.
How does overlining work on naturally thin lips?
Overline only the center of the upper and lower lips, then reconnect to your natural shape before the corners. Blend the inner edge inward and place a lighter lipstick or a small amount of gloss at the center. If the line is visible when you smile, soften it again.
The best all-around drugstore dupe is a medium-creamy pencil paired with a synthetic brush, because it gives you the flexibility to outline, shade, and blur without requiring a prestige formula. The dot-dot-dash technique ties the entire routine together by keeping the shape balanced before you add fullness or color.
Finding Favourites compares affordable alternatives to luxury makeup and includes practical lip liner guides for lining, filling, blending, and subtle overlining. Visit Finding Favourites to compare budget-friendly lip products by texture, finish, shade match, and wear goals, then choose a liner that fits the soft, blended look you want.