How to Use Loose Powder the Right Way Every Time
Your foundation looked fresh until you added powder. Now your cheeks look flat, your under-eyes look dry, and the shine around your nose somehow survived. Learning how to use loose powder starts with dropping the idea that every part of your face needs setting. Treat it as a targeted tool, and you'll have a much easier time getting a finish that still looks like skin.
This post may contain affiliate links, which means I may receive a commission if you purchase through my links, at no extra cost to you. Please read the disclosure policy for more information.
Why Loose Powder Gets Misused
Loose powder gets blamed for problems that often start with the application. A generously loaded brush swept across your entire face gives your dry cheeks the same treatment as your shiny nose, even though they're asking for different things.
Its useful jobs are straightforward: absorb surface oil, reduce shine, soften the appearance of the complexion, and help makeup stay in place. Those are reasons to use it selectively, not reasons to bury your foundation under another layer. The Poison Control overview of cosmetic powders provides background on powders' oil- and moisture-absorbing role.
The familiar warning sign is a finish that looks drier rather than smoother.
Decide What Actually Needs Setting
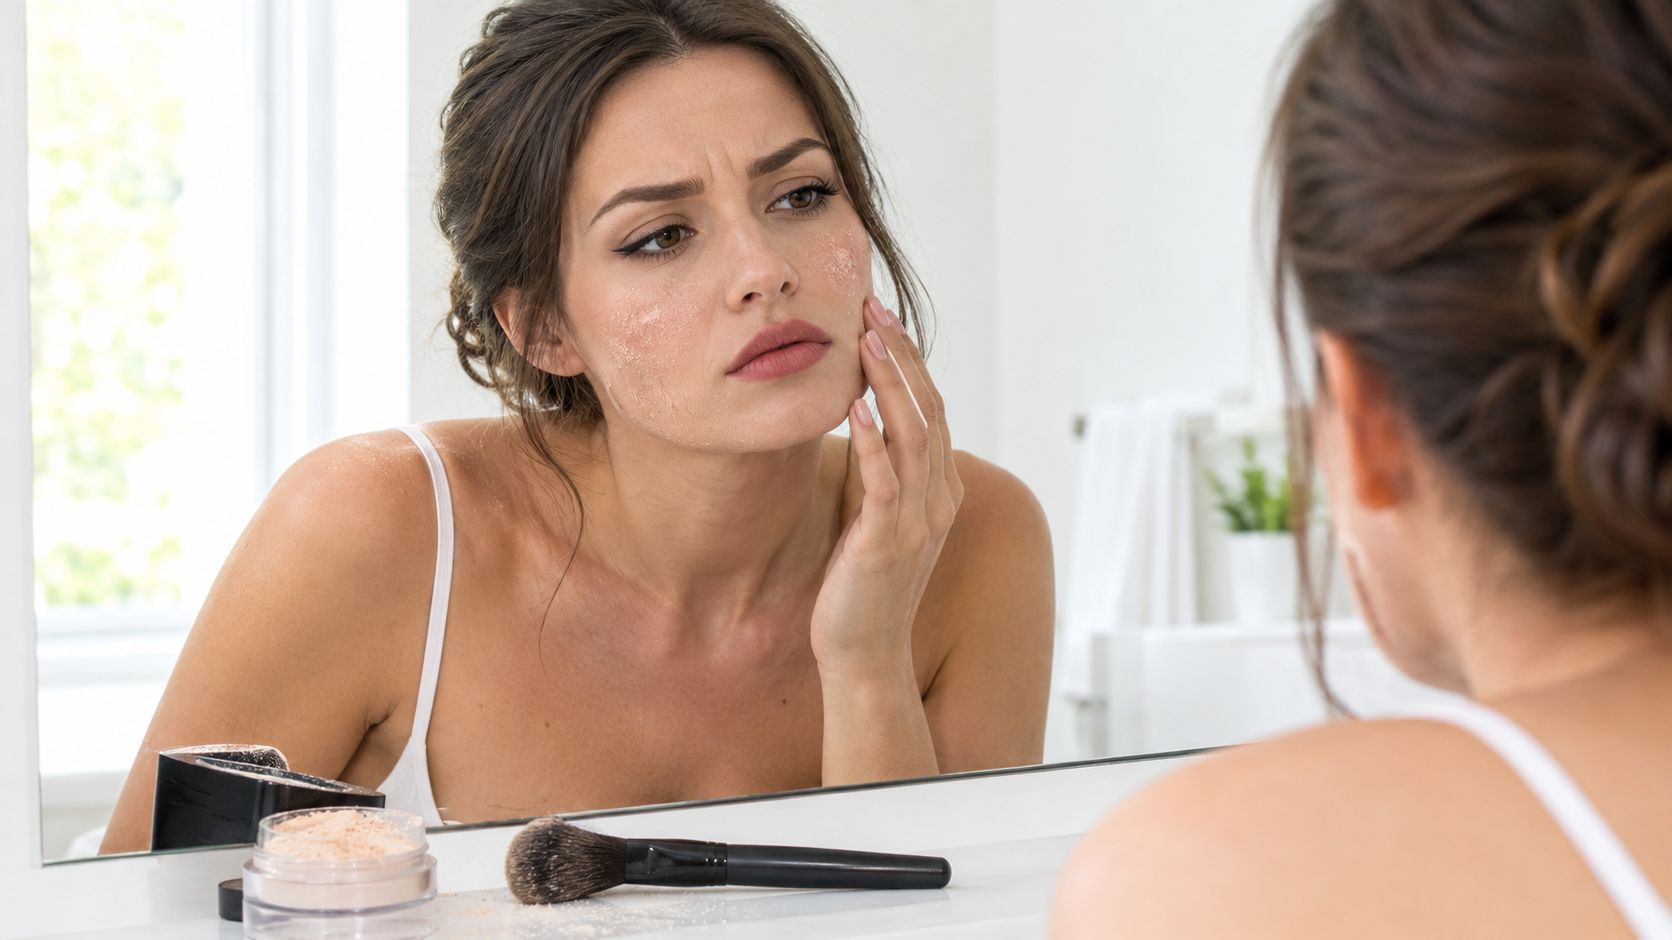
Before opening the jar, look at your finished base in ordinary light. Identify where you see unwanted shine and where you already like the finish.
- Shiny nose or forehead: These are sensible places to start.
- Comfortable, fresh-looking cheeks: Leave them alone.
- Dry under-eyes or visible flakes: Don't automatically add powder.
- Makeup that breaks down locally: Treat that area rather than escalating to an all-over coat.
My recommendation is simple: keep the areas that look good and adjust the ones that don't. A softly glowing cheek beside a more matte nose isn't an unfinished face.
Practical rule: Powder should solve a visible problem, not satisfy a rule about what a complete makeup routine must contain.
That distinction matters more than whether your jar says luxury, drugstore, translucent, or blurring. An expensive powder applied where you don't need it is still an unnecessary layer.
Choosing the Right Tool and Texture
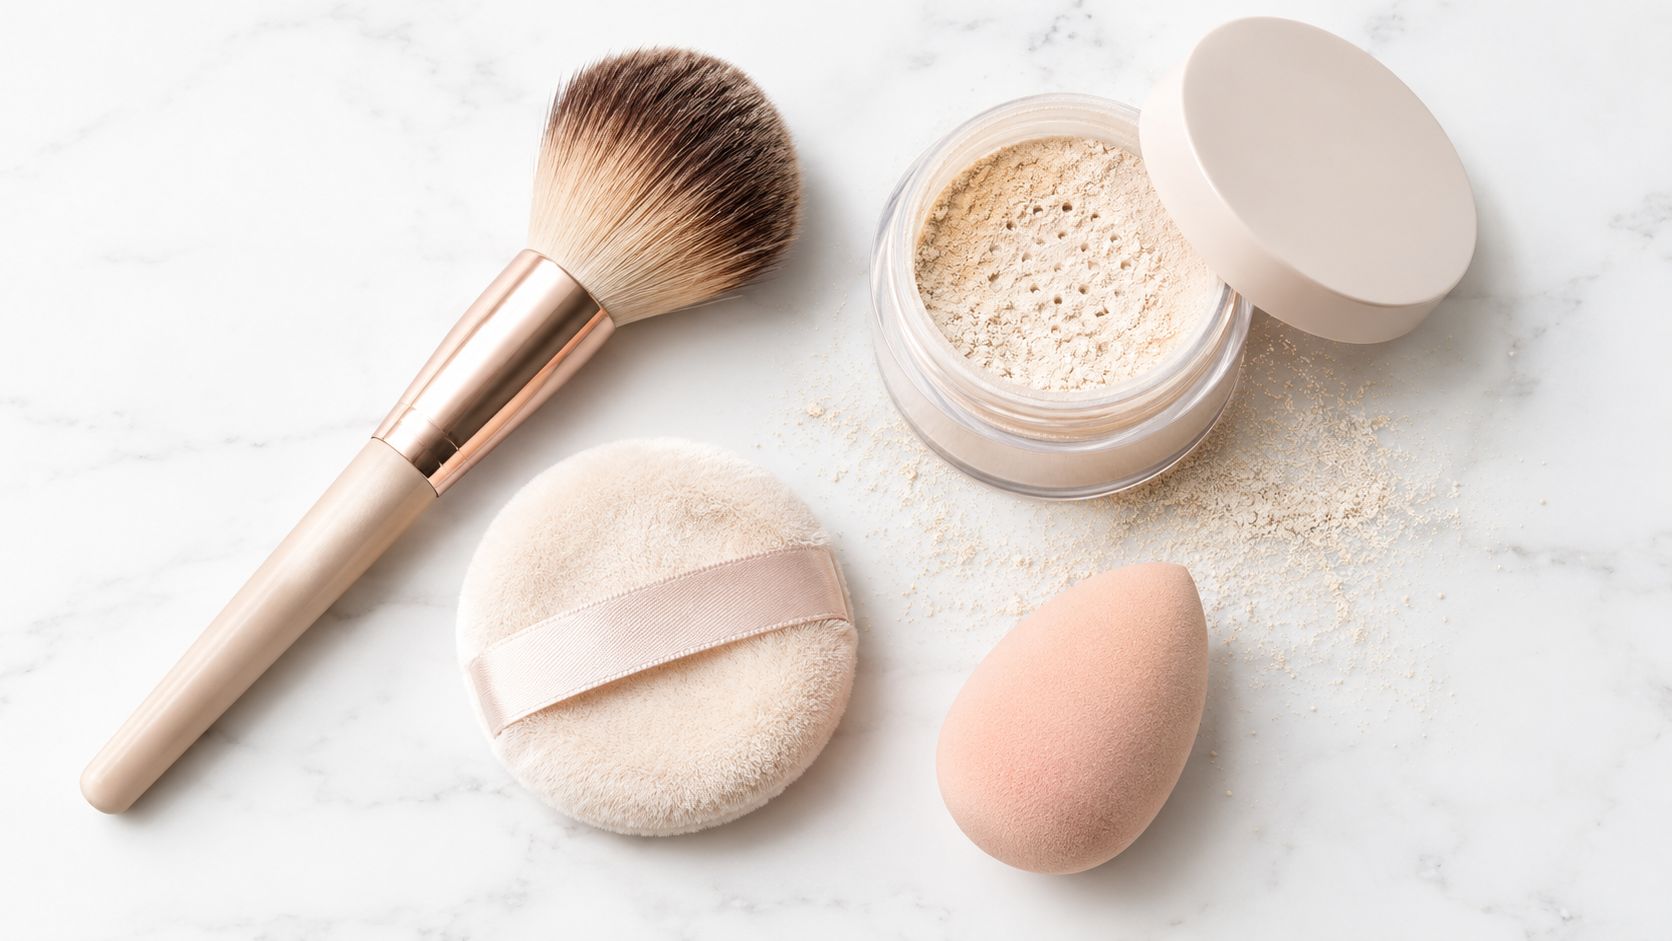
Start with a fluffy brush for restraint and a velour puff for precision. You don't need an elaborate tool collection, and you certainly don't need to use every applicator during the same routine.
Choose by the area you're setting, not by whichever tool came inside the packaging.
| Tool | My recommended job | What to avoid |
|---|---|---|
| Soft, fluffy powder brush | A light veil over selected areas | Scrubbing back and forth |
| Velour puff | Controlled placement around the nose and forehead | Stamping on a loaded coat |
| Barely damp sponge | A cautious finishing adjustment | Scooping loose powder onto texture |
Brush, Puff, or Sponge
A fluffy brush is my default recommendation when you're unsure how much powder you need. Lightly load the tips, remove the excess, and keep the application deliberate rather than sweeping everywhere out of habit.
Reach for a puff when you want to place powder precisely. A small amount pressed around the sides of the nose makes more sense than dragging a large brush across nearby cheeks that don't need setting.
I wouldn't make a damp sponge your starting applicator if cakiness is already your complaint. If you experiment with it to soften an edge, use it nearly dry and without an additional scoop of powder.
Read Beyond the Ingredient Headline
Talc, silica, and cornstarch aren't interchangeable promises of a particular finish. Talc- and silica-based formulas can absorb moisture and sebum, but the ingredient name alone doesn't tell you how the complete product will behave over your foundation.
Particle distribution matters, too. HORIBA's cosmetic particle-size analysis explains how particle size affects spreadability, feel, appearance, and coverage.
Don't assume cornstarch means gentler, or that silica guarantees an invisible finish. Judge the finished formula on your face, with your usual base.
The Step-by-Step Application Sequence
The right order matters as much as the right amount. Finish your liquid and cream complexion products before setting, including foundation, concealer, and any cream cheek products you intend to use.
Keep the brush movement light and purposeful.
Let the Base Settle Before Loading Your Tool
Allow skincare and emollient makeup to settle before touching them with powder. If concealer still looks visibly wet or moves easily beneath your tool, pause rather than trying to dry it with a heavy powder layer.
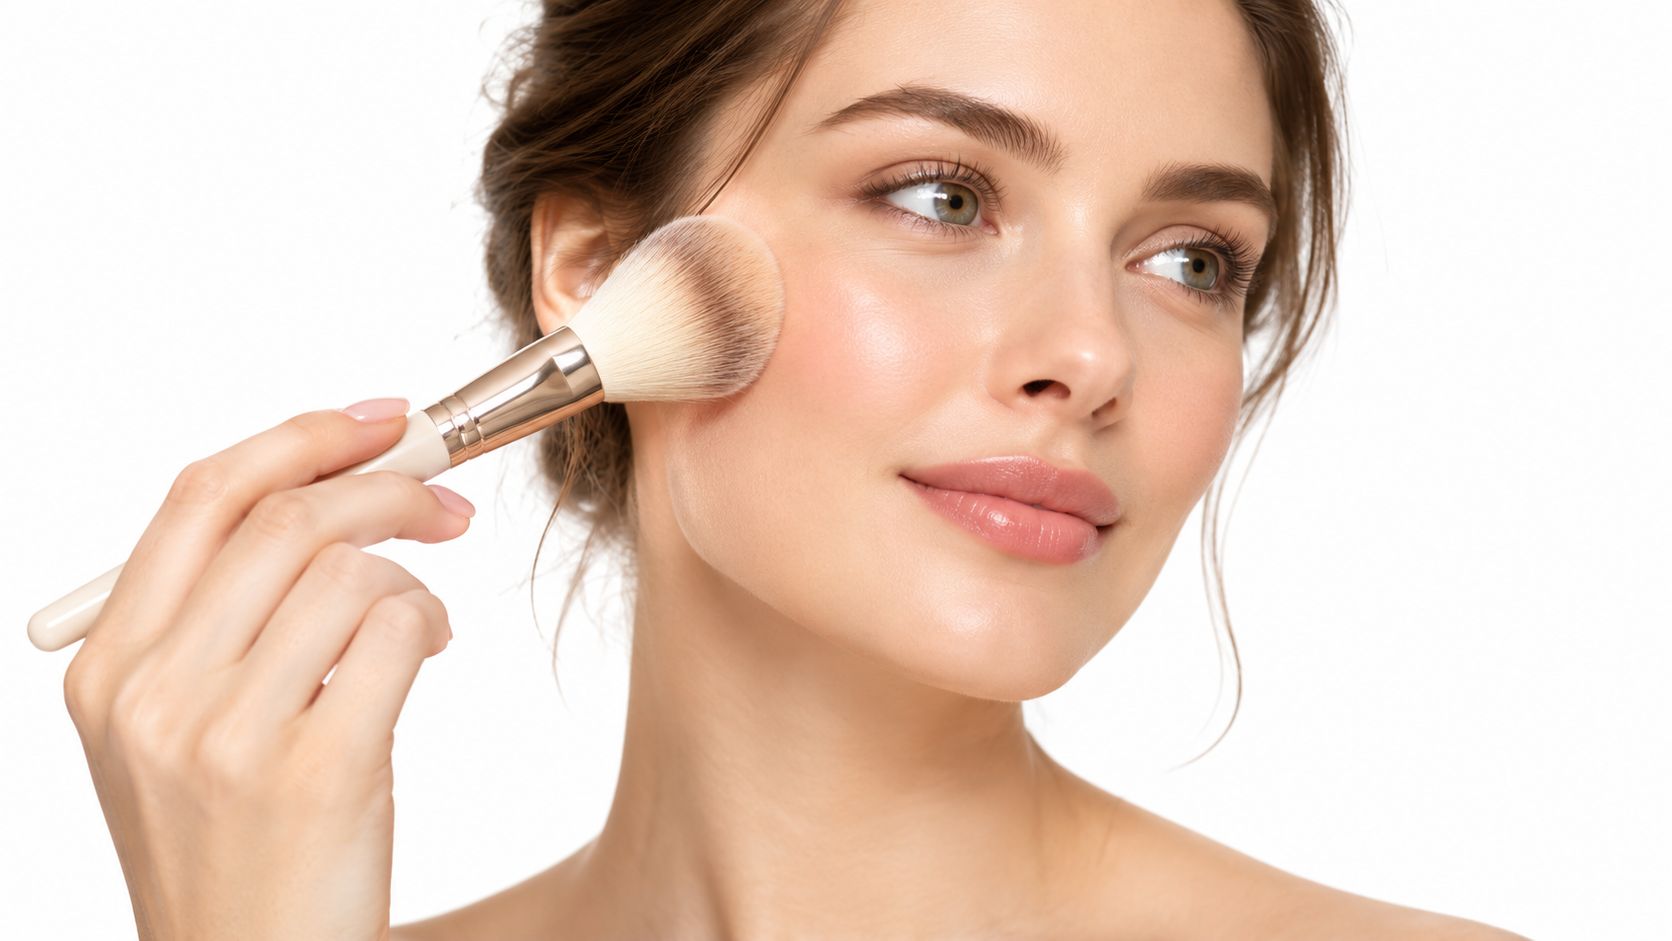
Dispense a little product into the lid. Touch your clean brush or puff into it, then work off the excess against the lid before approaching your face.
- Start centrally: Place powder on the areas you identified as needing it.
- Press over vulnerable base: Use a light touch rather than repeated rubbing.
- Move outward sparingly: Stop before reaching comfortable, non-shiny skin.
- Inspect before adding: Give the result several minutes, then reassess only the areas that remain oily.
Finish Without Building Another Layer
Don't automatically buff along the jawline. If that area needs setting, use a restrained sweep; if it already looks smooth, there's nothing to fix.
My default is to remove visible excess rather than leave a thick layer sitting on the skin. Baking is an optional makeup style, not a required stage of setting your face.
If you want to try the sponge adjustment described above, do it after removing excess powder and before adding powder blush or bronzer. Touch only the boundary that looks too powdery, and stop if the base starts lifting.
For a visual application reference, watch the tool placement alongside your own mirror check.
Finish with powder blush or bronzer if you use them. Applying more cream over an already powdered surface can disturb the finish, so planning the cream layers first saves you from unnecessary repair work.
Matching Powder to Your Skin Type
Your skin type should influence where you set and how you apply, not dictate an automatic full-face routine. Use your skin's actual condition that morning as the final deciding factor.
Oily and Combination Skin
For oily skin, I'd start with a lightly loaded puff on the forehead, nose, and chin. Judge success by whether the unwanted shine is controlled, not whether every trace of natural sheen disappears.
If excess oil is a persistent concern beyond makeup wear, Neutralyze's explanation can help you find out why your skin is oily. That's a separate question from how much powder to apply, and it deserves separate attention.
Combination skin needs a split routine. Set the oily center, then assess the cheeks independently instead of carrying the same amount of product outward.
- Oily center, comfortable cheeks: Use the puff centrally and leave the cheeks untouched.
- Oily nose, flaky chin: Treat those as different zones, even though both sit near the center.
- Changing needs: Adjust placement instead of replacing your entire routine immediately.
For formula-shopping criteria, the guide to setting powders for combination skin is a relevant starting point.
Dry and Mature Skin
Dry skin doesn't need powder because you wore foundation. My recommendation is to skip it wherever your base already looks settled and comfortable.
If you still want a little setting, try a restrained brush application on the specific area that needs it. Don't turn a localized concern into a fully matte face.
For mature skin, make the under-eye decision after checking the concealer, not before. I'd choose a minimal brush application over a thick bake when visible texture is the concern.
These are technique recommendations, not promises that a skin-type label predicts every result. Your foundation, concealer, and powder still need to work together, and your face gives you more useful feedback than a universal application diagram.
Common Loose Powder Mistakes to Avoid
The most useful change is often subtraction. Before buying another powder, stop the habits that make it difficult to tell whether your current formula suits you.
Makeup users discussing persistent powder cakiness describe problems involving product combinations, quantity, and application. Those experiences aren't a controlled test, but they're a useful reminder that technique isn't the only variable.
Stop Treating Every Problem With More Powder
- Overloading the brush: If you can see a dense coat on the bristles, remove some before application. Don't make your face the place where you discover you picked up too much.
- Baking every area: A sharply matte under-eye triangle isn't automatically a better-set under-eye. Skip the heavy layer when you prefer a skin-like finish.
- Pressing hard on flakes: Pressure isn't a substitute for compatibility. Stop working the area if each pass makes the texture more obvious.
- Ignoring the shade: Check the powder over your actual foundation, not just on bare skin or inside the lid.
I don't recommend a universal timed bake. A long-wear matte makeup preference may justify experimenting with a more deliberate puff application, but it doesn't justify telling everyone to leave a mound of powder beneath their eyes.
More powder isn't proof of better setting. Keep the amount accountable to the result.
Don't Confuse Translucent With a Guaranteed Match
Treat “translucent” as a product description, not permission to skip checking the finished look. Inspect around your mouth, along the jaw, and beside the nose before deciding the shade works.
A chalky T-zone and a dry under-eye triangle are useful clues, not reasons to criticize your skin. Change a controllable variable first: the amount, the placement, the pressure, or the product pairing.
Troubleshooting Cakiness and Flashback
Diagnose the finish before replacing the jar. Makeup that looks heavy in the mirror needs a different investigation from makeup that looks fine in person but pale in a photograph.
If It Looks Heavy in Person
Start by asking when the problem appeared. An uneven patch that formed the moment you touched a damp-looking base calls for a different correction from an otherwise smooth face covered in excess powder.
| What you notice | What I'd change next time |
|---|---|
| Powder catches immediately | Let the base settle before setting |
| A thick, visible surface layer | Reduce the amount loaded onto the tool |
| Foundation moves during application | Replace rubbing with gentle pressing |
| Under-eyes look drier after setting | Test that area without powder |
Don't keep rubbing a patch in the hope that it will disappear. Stop, inspect, and avoid adding another cosmetic layer until you understand what's already there.
The guide to making makeup less cakey offers a broader way to assess the base rather than blaming the final setting step alone.
If It Looks Pale Only in Photos
Don't diagnose flashback from an ingredient list alone. A photograph isn't enough to establish that silica, SPF, dry skin, or a particular powder caused the result.
My recommendation is a comparison using the same foundation and lighting: photograph your base without powder, then with your normal targeted application. If the pale cast appears only after setting, test a different powder or shade before declaring the whole routine unsuitable.
Keep sunscreen decisions separate from powder troubleshooting. Don't remove sun protection to chase a better photograph.
Troubleshooting shortcut: Change one variable at a time. Otherwise, you won't know whether the improvement came from the formula, the amount, or the tool.
If the makeup looks heavy both in person and on camera, address the visible layering first. A new product won't tell you much if you apply it in exactly the same overloaded way.
Affordable Loose Powder Dupes Worth Trying
Best Loose Powder Dupes at a Glance
You don't need a prestige jar to get a prestige finish. I tested eight affordable loose powders over four weeks, wearing each one over the same foundation on the same zones, and three of them matched their luxury counterparts closely enough that I'd make the swap permanent.
| Original Powder | Best Drugstore Dupe | Best For |
|---|---|---|
| Hourglass Ambient Lighting Powder | e.l.f. Halo Glow Setting Powder | A soft luminous finish |
| Laura Mercier Translucent Loose Setting Powder | Coty Airspun | Targeted oil control and baking |
| Huda Beauty Easy Bake | Makeup Revolution Loose Baking Powder | Brightening under-eye setting |
Go in with honest expectations. The e.l.f. powder runs slightly more glowy than Hourglass, Airspun has a noticeable fragrance, and the Revolution bake feels a touch drier on the skin. What each of them does is reproduce the part of the luxury formula that matters, which is the finish sitting on your face at hour six.
Build a Dupe Shortlist by the Job
For a matte luxury powder, compare localized oil control. Apply the affordable candidate to the same zones you normally set, over your usual foundation. If matching the finish takes an increasingly visible coat, it's not a real swap.
For a luminous powder, judge texture before longevity. Look closely at the cheeks and under-eyes where powder shows most. A budget option that looks comfortable there beats an unverified claim of all-day wear.
For a tinted or brightening powder, compare the finished shade. Check it over foundation around the mouth and jaw in daylight. Skip any so-called dupe that leaves an obvious color mismatch.
The guide to the best loose setting powders breaks down which finishes suit which skin types if you want to widen your shortlist. Treat "identical formula" marketing with suspicion while you shop. A dupe should mean a matching finish, not a matching ingredient list, and FDA cosmetic labeling guidance holds brands to truthful claims rather than exact-copy promises.
My overall pick is Coty Airspun. For oily and combination skin it's the strongest swap in the group, controlling shine for hours at a fraction of the original's cost.
Handle the Jar as Carefully as the Makeup
Decant a small amount into the lid, keep the container away from your face, and close it promptly. Skip shaking the jar or blowing excess off your brush, since both put a cloud of powder right around your nose and mouth.
The FDA's talc information explains potential asbestos contamination and reports no asbestos detected in the samples covered by its reviewed survey. That's reassuring context for the tested products, and a reminder that "talc-free" on a label doesn't automatically mean safer or better-performing.
Don't share applicators. Wash reusable tools regularly, keep powder away from broken or irritated skin, and retire any jar that changes in smell, texture, or color.
FAQ
Does Loose Powder Go Before or After Foundation?
Apply it after foundation and concealer have settled. Complete cream complexion layers first, then set selectively and follow with powder cheek products if you use them.
Do I Need to Powder My Under-Eyes?
No. Compare your concealer with and without a minimal setting layer, and keep the version that looks better on your skin.
Is Loose Powder Safe to Inhale?
Don't deliberately inhale cosmetic powder. Loose formats can become airborne more readily than pressed products, so a pressed option is worth considering if you have asthma or respiratory sensitivity; the FDA's expert-panel coverage of talc safety provides additional ingredient-safety context.
Does Missing an Expiration Date Mean My Powder Is Unsafe?
Not automatically. FDA guidance on cosmetic shelf life explains that U.S. cosmetic manufacturers generally aren't required to print expiration dates, although they remain responsible for product safety and shelf life.
What's the Best Affordable Dupe?
There isn't a verified product winner established here. The worthwhile swap is the affordable formula that matches your preferred finish over your own base, with current availability and performance checked rather than assumed.
The takeaway is straightforward: set the areas that need help and preserve the areas that already look good. A lightly loaded brush or precisely placed puff is a better starting point than an all-over bake, and an affordable powder only becomes a good dupe when it delivers the finish you want. Try the targeted method with your current jar before spending on another.
Finding Favourites offers affordable makeup comparisons and practical technique guides to help you assess texture, finish, and value. Visit Finding Favourites to build your powder shortlist, then compare each option over the foundation you wear.