
How to Apply Eyeshadow Primer + 5 Drugstore Dupes
You know the feeling. Your eyeshadow looks smooth, blended, and expensive when you leave the house, then somehow turns into a creasey stripe by lunch. Or the shimmer you packed onto your lid has migrated halfway to your brow bone. Most of the time, the shadow isn't the problem. The base is.
This post may contain affiliate links, which means I may receive a commission if you purchase through my links, at no extra cost to you. Please read the disclosure policy for more information.
A good primer application changes everything. It gives shadow something even to grip onto, keeps oily lids from breaking makeup apart, and makes budget palettes perform better than they have any right to. If staying power is your biggest makeup struggle, this guide pairs perfectly with my tips on how to make makeup last all day.
The Secret to All-Day Eyeshadow That Wont Budge
Eyeshadow primer matters most when your lids do what lids naturally do. They blink, fold, get a little oily, and rub product around all day. If you skip primer, powder shadows often cling unevenly, metallics can scatter, and darker shades tend to bunch in the crease first.
The fix isn't using more shadow. It's creating a thin, balanced layer underneath it.
A lot of people overcomplicate primer, but its purpose is simple. It smooths texture, helps pigment apply more evenly, and gives your eye look a steadier foundation. That's why even a soft one-shadow look usually appears cleaner when the lid has been prepped properly.
Practical rule: If your eyeshadow disappears, skips, or bunches, treat the lid first before blaming the palette.
This is also where budget beauty gets exciting. You do not need a luxury tube to get a polished result. Several drugstore primers and primer-adjacent options perform beautifully when the application is right. In my experience, the technique is what separates a crisp eye look from a frustrating one, not the price tag printed on the packaging.
What doesn't work is slapping on a thick layer and hoping for the best. Heavy primer can break apart faster, grab shadow in patches, and emphasize lid texture. A controlled amount, pressed into the skin where makeup usually fails first, gives you the kind of finish people assume came from a much pricier routine.
Your Pre-Primer Eyelid Prep Routine
Most primer problems start before the primer even comes out of the tube. If your eyelid still has sunscreen, eye cream, concealer residue, or natural oil sitting on top, the product has to fight through that layer before it can do its job.
Start with a clean, dry lid
Use a gentle cleanse around the eye area, then make sure the skin is fully dry. You're not trying to strip the lid. You're trying to remove the slip that makes powders skid around and creams separate.
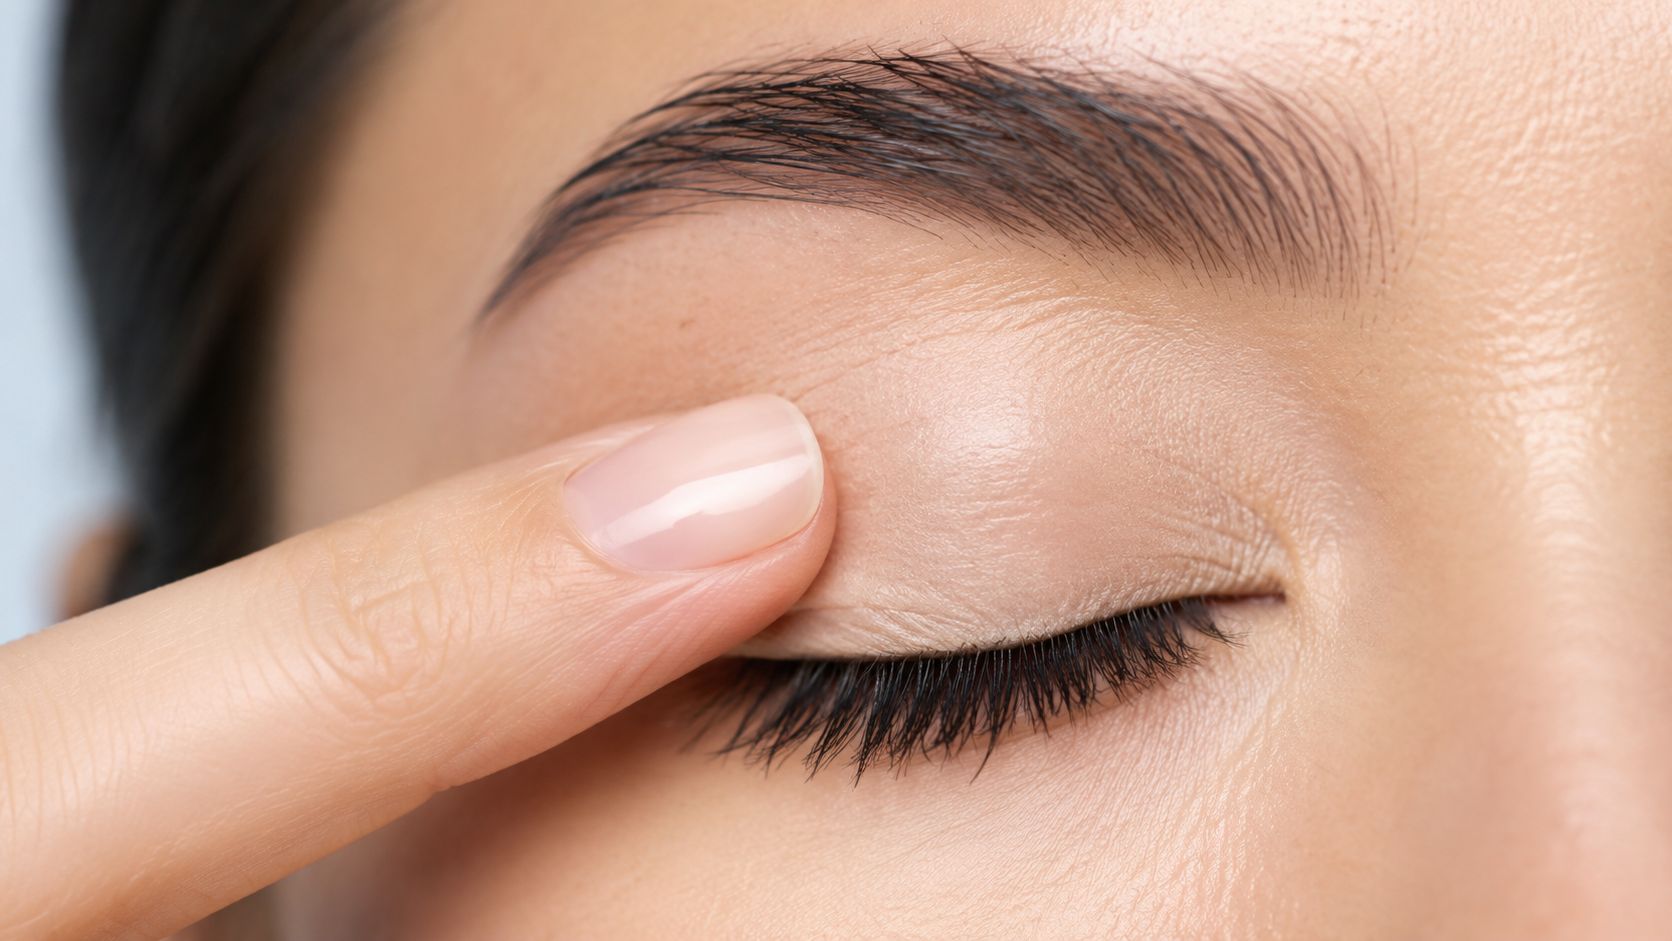
If you already did your skincare, check the lid with a fingertip. If it still feels tacky, glossy, or cushioned, it's too soon for primer.
Here's the nuance most beginner tutorials miss. The 10-minute absorption window after eye cream makes a real difference. According to a Reddit discussion highlighted in the beauty community, that wait time helps prevent pilling, yet only 1 in 20 beginner guides mention it (Reddit discussion on eyeshadow primer use).
Decide whether your lids need extra moisture
Not every eyelid needs moisturizer right before makeup.
- If your lids are oily, skip extra cream on the lid itself whenever possible. Too much slip under primer usually shortens wear.
- If your lids are dry or feel tight, use the smallest amount of eye cream and let it absorb fully before anything else touches the area.
- If you have fine lines, keep the area comfortable but not glossy. Makeup sits better on skin that feels soft, not wet.
Clean and dry beats freshly moisturized when your goal is grip.
What to do right before primer
Keep this last step simple and consistent:
- Blot any excess skincare: A clean tissue or cotton pad can lift leftover slip without irritating the skin.
- Check the fold of the lid: Product often hides there. If that area still feels creamy, your primer will bunch there too.
- Skip unnecessary layers: Foundation and heavy concealer all over the lid can make primer less predictable.
This prep doesn't take long, but it's the part that makes the rest of your eye makeup behave. If your shadow has ever looked patchy for no obvious reason, start here.
How to Apply Eyeshadow Primer Flawlessly
The biggest mistake people make with eyeshadow primer is using it like face primer. You don't need a blob. You need precision.
Use less than you think
The sweet spot is tiny. A pin-head amount, less than a grain of rice for both eyes, pressed from the mobile lid to the brow bone, reduced crease formation by over 80% in controlled wear tests (Red Apple Lipstick primer application guide).
That amount sounds almost laughably small until you try it. But that thin veil is exactly why it works. Thick primer doesn't give you extra hold. It usually creates extra movement.
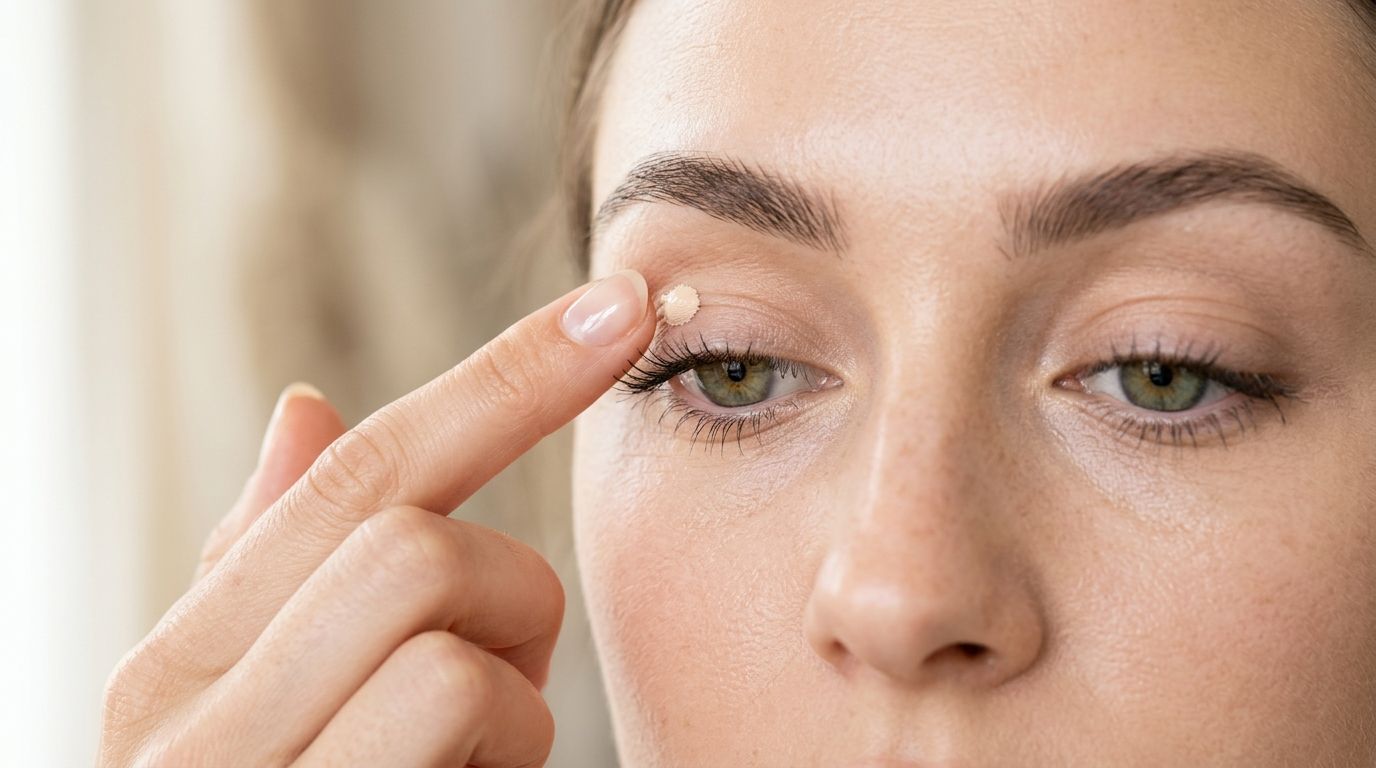
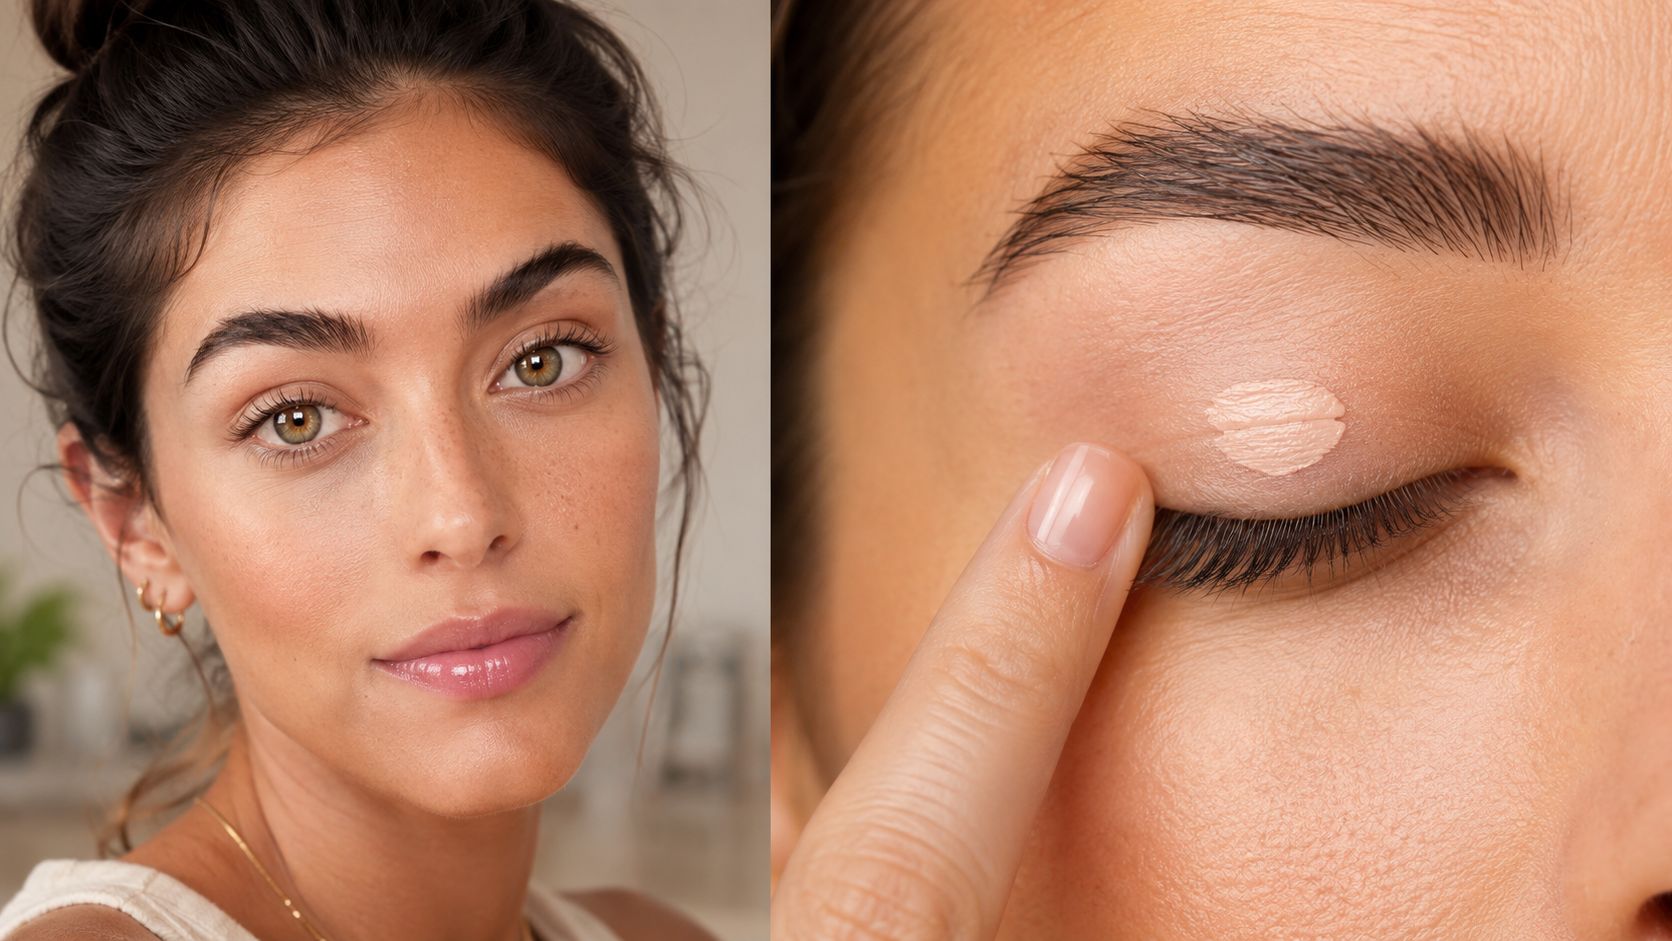
Place the smallest dot near the center of the lid, then spread from there. I prefer a clean fingertip for this because body heat helps the product melt into a smoother layer, but a small synthetic brush also works if you want more control around the inner corner.
Press first, then smooth
At this stage, application changes from average to polished.
Don't immediately swipe product back and forth. Press it into the mobile lid first, especially where your eye folds. Then smooth the edges outward and upward so the layer stays thin and even.
Focus on these zones:
- The mobile lid: Shadow needs the most grip on this area.
- The crease and fold: If you have hooded or textured lids, product tends to gather here first.
- The inner corner: Shadow often fades here faster than anywhere else.
- The brow bone: A whisper of product here helps transition shades blend more cleanly.
If you're still building your eye routine, this beginner-friendly guide on how to apply eyeshadow for beginners pairs well with a solid primer base.
The goal is not to see the primer sitting on top of the skin. The goal is to barely notice it and then notice how much better your shadow behaves.
A quick visual can help if you want to watch the hand motion and placement in action.
Let the lid tell you when you're done
A properly applied primer layer should look almost invisible. The lid should feel smoother and slightly more even, not wet, thick, or sticky in blobs.
If your shadow skips after primer, you probably used too much or didn't distribute it far enough. If it grabs in one patch and won't blend, there may be excess product sitting in one area. Thin it out with a fingertip before adding shadow.
That's the entire trick. Small amount, pressed where creasing starts, smoothed into a barely-there layer.
Customizing Primer Application for Your Eyes
One primer technique won't solve every lid type. The basics stay the same, but the finish you want depends on whether your biggest issue is oil, dryness, texture, or transfer.
For oily lids
If your eyeshadow turns slick fast, choose a mattifying or oil-free primer and keep the layer extremely thin. Oily lids don't benefit from extra product. They benefit from less movement on the skin.
The other shift is what happens after application. A lot of people leave primer tacky because they think tackiness automatically means better grip. On oily lids, that can backfire and make blending messy.
Use a matte, light base shadow or a light veil of translucent powder to remove excess tack. That creates a smoother surface for powder shadows to sit on without skipping.
For dry or mature lids
Dry lids need balance. You want enough comfort that the skin doesn't look papery, but not so much cream underneath that primer pills or separates.
A few practical adjustments help:
- Use the thinnest layer possible: Extra product settles into lines faster.
- Press, don't rub: Rubbing can lift dry patches.
- Favor smoothing formulas: Primers with a softer, creamier feel usually look better than stiff, overly grippy textures on textured lids.
If your eye look is minimal that day, skipping primer may give a prettier result on very dry or sensitive lids, especially if primer tends to make the area feel tight or cakey.
For hooded and deep-set eyes
Technique is most important. Hooded lids create constant contact between skin surfaces, so shadow transfer is common even with a good primer.
The most useful adjustment is the primer-to-powder method. Instead of leaving primer tacky, set it lightly before shadow. According to a YouTube tutorial analysis, setting primer with translucent powder improved wear time by 78% for users with hooded or deep-set eyes and reduced glitter fallout by 65% with newer gel-based primers (YouTube analysis on powder-set primer).
If your shimmer ends up in the crease every time, stop chasing stronger glitter glue first. Try changing the surface underneath it.
This works especially well when your shadows crease during normal wear but don't necessarily fade everywhere else. In that case, your issue is often migration, not lack of pigment.
Best Drugstore Eyeshadow Primer Dupes
Luxury eye primers have great branding, but plenty of affordable options create the same smooth, long-wearing base. The trick is matching the formula to the finish you like. Some act more like classic eye primers with grip, while others work as clever stand-ins when applied strategically.
Top Eyeshadow Primer Dupes
| Primer Dupe | Dupe For | Best For |
|---|---|---|
| Milani Eyeshadow Primer | Urban Decay Primer Potion | Long wear and oily lids |
| e.l.f. Poreless Putty Primer | Smoothing luxury lid bases | Texture and soft-focus lids |
| NYX Ultimate Shadow & Liner Primer | NARS Pro-Prime Smudge Proof Eyeshadow Base | Color payoff and grip |
| Wet n Wild Photo Focus Eyeshadow Primer | Higher-end invisible primers | Everyday wear on a budget |
| Maybelline concealer used as primer | Eye base hacks when you need one product | Minimal kits and quick looks |
If you love bargain hunting, you'll probably also enjoy these affordable makeup dupes worth trying.
1. Milani Eyeshadow Primer
This is the one I'd hand to anyone who wants dependable wear without thinking too hard about it. It gives that classic, no-nonsense grip that fans of Urban Decay Primer Potion usually want, but in a more budget-friendly lane.
It spreads thinly, doesn't need much, and works especially well under matte shadows. If your main complaint is fading or breakdown through the day, this is the safest swap.
2. e.l.f. Poreless Putty Primer
This isn't marketed as a traditional eye primer, but it can be a smart smoothing dupe for people who care more about texture than maximum tack. On lids with visible texture or fine lines, it can create a softer-looking base than a very sticky primer.
The key is restraint. Tap on the smallest amount and keep it focused where the skin looks uneven. Too much and it can feel heavy.
Worth knowing: A smoothing primer can be the better dupe when your goal is a polished eyelid surface, not just brute-force grip.
3. NYX Ultimate Shadow & Liner Primer
If you like a more modern eye base, this one sits nicely between grip and blendability. It's a good alternative to prestige primers that are known for making shadow look richer without turning the lid into a sticky patch.
This is the one I'd pick for brighter color looks, smoky eyes, or any time you want shadow to hold shape at the outer corner.
4. Wet n Wild Photo Focus Eyeshadow Primer
This is one of the easiest budget buys to recommend. It's simple, widely available, and doesn't ask much of you. If you're new to primer or just want a low-risk backup in your makeup bag, it gets the job done.
It won't feel luxurious, but that's not the point. It's practical and easy to use.
5. Maybelline concealer as a primer hack
This one is useful, not perfect. Maybelline notes that concealer can work as an eyeshadow primer when it's patted into the center of a clean, dry eyelid, blended outward, and topped with shadow immediately because it sets quickly (Maybelline eyeshadow primer hack).
Use this only when you understand the trade-off. Concealer is convenient, especially in a travel bag or one-product routine, but it usually won't be as reliable as a dedicated eye primer for long wear.
Common Primer Mistakes and Easy Fixes
If your primer “doesn't work,” the formula itself might not be the issue. Most failures come from a few repeat mistakes that are easy to correct once you know what to look for.
You used too much
This is the fastest route to creasing, patchiness, and that strange gummy feeling on the lid. Primer should not sit on top like a visible cream layer.
The fix is simple. Cut your amount down dramatically and spread it farther. When the layer is thin, shadow has somewhere to hold without sliding around.
You left the surface too tacky
A tacky base can help in some situations, especially for intense shimmer placement. But for many everyday looks, leaving primer wet or sticky all over the lid makes blending harder and encourages smudging.
Setting primer is essential for optimal results. Failing to set primer can lead to a 65% increase in eyeshadow smudging within 4 hours, whereas setting it with a light powder can extend wear time to over 12 hours (Natalie Setareh eyeshadow application guide).
Your lid prep and your primer are fighting each other
If the primer pills, balls up, or turns uneven, the base underneath is usually too creamy. That often happens after rushed skincare or when too many complexion products end up on the lid.
Try this troubleshooting list:
- If the primer looks cakey: Remove excess skincare and start with a cleaner lid.
- If shadow grabs in spots: Smooth the primer with a fingertip before applying powder.
- If product vanishes at the fold: Concentrate application where your lid naturally creases.
- If your lids feel irritated: Skip primer on bare-minimum makeup days and keep the eye area simple.
Sometimes the best fix isn't a stronger primer. It's fewer layers underneath it.
Frequently Asked Questions
Can I use concealer as an eyeshadow primer?
Yes, but it works best as a backup, not a first choice. It needs to go onto a clean, dry lid and shadow should be applied right away before it sets. For regular wear, a dedicated primer is easier to control.
Why does my eyeshadow primer look patchy or cakey?
Usually because the lid wasn't fully dry, or because too much product was applied. Primer performs better in a very thin layer than in a visible one.
My primer still creases. What am I doing wrong?
Look at the whole setup, not just the product. Too much primer, leftover skincare, or skipping the setting step can all cause creasing. Hooded and oily lids usually do better when the primer is lightly set before shadow.
Should everyone use primer every day?
No. If you're doing a very minimal eye look, or your lids are sensitive and tend to feel dry with extra layers, you may prefer to skip it sometimes. Primer helps most when you want stronger wear, cleaner blending, or better color payoff.
In the end, learning how to apply eyeshadow primer well matters more than buying the most expensive tube on the shelf. A clean lid, a tiny amount of product, and the right finish for your eye shape will do more for your makeup than any hype. Among the drugstore dupes, Milani Eyeshadow Primer is the best overall pick because it delivers reliable grip, easy wear, and luxury-level performance without the luxury price tag.
If you love finding beauty products that perform like high-end favorites without draining your wallet, Finding Favourites is worth bookmarking. It's packed with practical dupe roundups, smart comparisons, and affordable beauty picks that make shopping easier.